
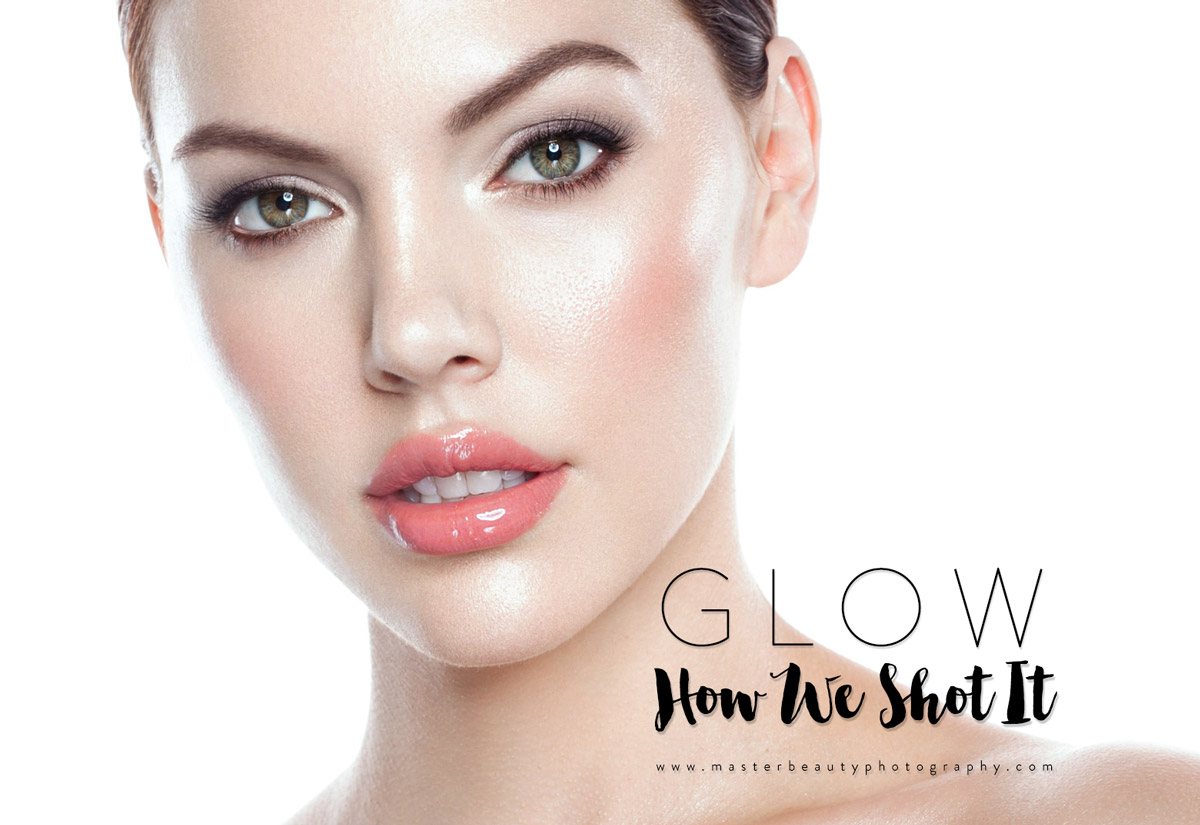
How We Shot It | Glow: Makeup & Lighting
It’s not a secret that the makeup application as well as the cosmetics products used for live events, video and beauty photography are very different. While it is important for the makeup artist to cover up all visible blemishes and contour their client’s face for events, the same approach in makeup for beauty photography will end up in a disaster.
One of the most common questions I hear from beginner photographers and retouchers is: “How can I create a beautiful skin texture in my images in post-production?” and this question is so backwards that the answer may seem unrelated.
The truth is that a beautiful skin texture is CAPTURED in camera, so it is “created” through your smart model choice, your makeup artist’s strong skills, and your relevant lighting. You can then retain the captured skin texture while removing the blemishes in post-production.
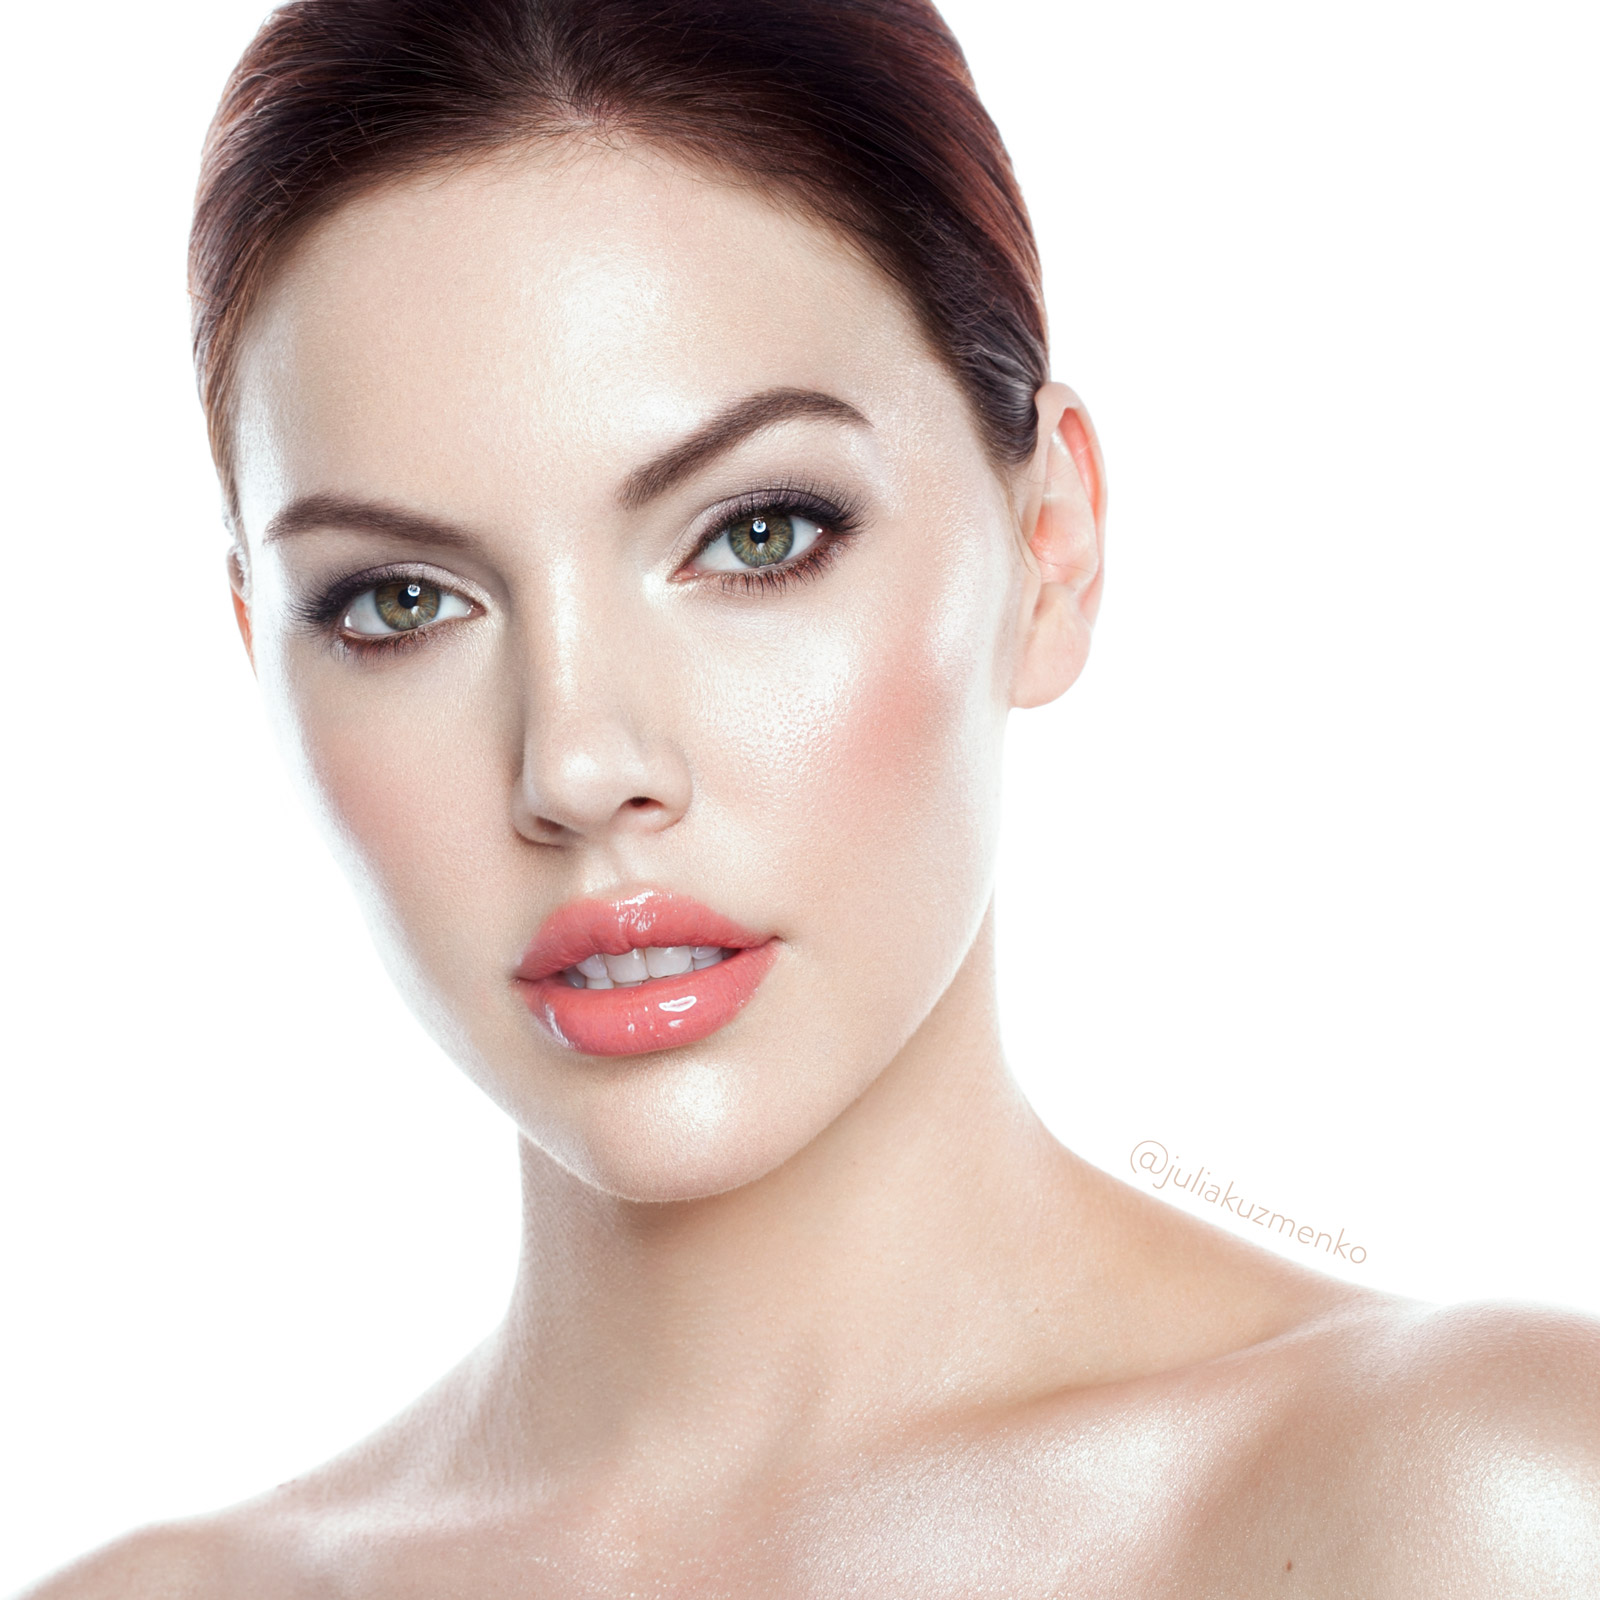
Model Laura Gude of Osbrink Models, makeup & hair Vlada Haggerty, photography & post-production Julia Kuzmenko
GLOW: MAKEUP
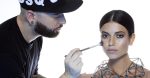
My colleague and dear friend Vlada Haggerty and I decided to share what we do in pre-production and our first little video is from our recent shoot where we wanted to create a super dewy look with our gorgeous muse Laura Gude of Osbrink Models.
If you are a beauty photographer, feel free to share this post with your makeup artist, as Vlada kindly shared her product list below as well.
GLOW: LIGHTING
As for the lighting, I used a slightly tweaked Clean Beauty lighting setup from our Go Pro: Studio Beauty video course, only instead of a beauty dish, I shot with the amazing light modifier for beauty photography – Para 88 by Broncolor.

A screenshot from the Clean Beauty Setup video from the Go Pro: Studio Beauty video course. In this photoshoot I replaced a beauty dish with a Para 88 by Broncolor.
And while shooting against the black background, we moved away from the backdrop leaving more space behind the model, turned the two strobes around and pointed them at the model’s head from behind, so that they created rim lights on both cheeks. But I personally liked this look against the white background more.
MAKEUP PRODUCT LIST
- Cleanse skin: Garnier Micellar Water
- Moisturize skin & lips: MAC Strobe Cream, Vaseline Lip Treatment
- Add glow to cheekbones and bridge of the nose: Becca Shimmering Skin Perfector in Opal
- Foundation: Urban Decay All Nighter
- Concealer: Nars Soft Matte Complete Concealer
- Cream blush: Smashbox L.A. Lights Blendable Lip & Cheek Color in Laurel Canyon Coral
- Cream highlighter: Marc Jacobs Glow Stick Glistening Illuminator
- Body Liquid glow
- Powder highlighter: MAC Extra Dimension Skin Finish in Soft Frost
- Brows: Urban Decay Brow Beater Brow Pencil
- Eye primer: Urban Decay Eyeshadow Primer Potion
- Eyes: Marc Jacobs Beauty Style Eye-Con No. 20 Palette: About Last Night (240), Stila Smudge Stick Waterproof Eye Liner
- Lips: Graftobian HD Lip Color Palette, Maybelline Lip Studio Shine Shot Lip Topcoat Clear Vinyl
- Finishing spray: Mario Badescu Facial Spray with Aloe and Rosewater

Model Laura Gude of Osbrink Models, makeup & hair Vlada Haggerty, photography & post-production Julia Kuzmenko
Model Laura Gude of Osbrink Models, makeup & hair Vlada Haggerty, photography & post-production Julia Kuzmenko
Beauty Retouching Workflow Checklist

A free PDF checklist for those who strive to be a better Beauty Retoucher


The video doesn’t seem to be working? I’m using Firefox, latest version.
same for me on Edge and IE. also, the first photo in the article doesn’t appear for me: http://masterbeautyphotography.com/wp-content/uploads/2017/02/MBP_Glow_How_We_Shot_It_Main_web.jpg
video seems to work fine on Instagram: https://www.instagram.com/p/BQW_X7RFoSd/?taken-by=juliakuzmenko