Lighting Lesson: How I Use Color Gels in My Studio Beauty Work
I am a big fan of using colored gels for rim lights in my work, but there’s really so much more that you can do with them besides that. In this article I’d like to walk you through some of the basics of working with colored gels when shooting Beauty in a studio and also share a video lesson from our Go Pro: Studio Beauty video course, where I talk about color gels as well (at the end of this article).
There are two main types of colored gels – theatrical, that we use to add a splash of accent colors into the frame, and color correcting – those that help us change the color temperature of a light source and are a whole separate topic, which we will leave for another time. I typically shoot with the same strobe models, so I rarely need to correct the color of my lights, but I do love shooting with theatrical colored gels and my work created in the past 6 years really shows it.
So besides mounting colored gels on my rim light strobes, there are a few more ways that I use them:
- I may mount a blue color gel on a strobe and fire into a wall or into the ceiling or the floor to make she shadows in the scene appear slightly cooler;
- I may stick a color gel to the housing of a softbox on the inside to create a larger and more directional fill light (see example below, the Jewelry Ad lighting setup);
- I may also mount a color gel onto a strobe with a gridded hood reflector and fire it into a collapsible silver reflector to bounce it back onto the subject. It will create an even more directional fill light that I can use to color just some of the shadows in a portrait;
- I can also use a colored gift wrapping paper or colored cellophane and cover the entire front of the beauty dish to create colorful main light for specific creative projects (see examples below, 2 images of Tori and Chelsea)
- Whenever I am using colored gels on my rim light strobes, I make sure I shoot against a darker background, otherwise the rim lights will be washed out and barely noticeable in the shot;
- There is also a very fun way of combining two gels of complimentary colors to color the two cast shadows on the wall behind the subject, and if the colors are selected correctly, the areas where the colored light overlaps on the front of the subject will not be colored at all (Double Colored Shadows lighting setup, see an example below).
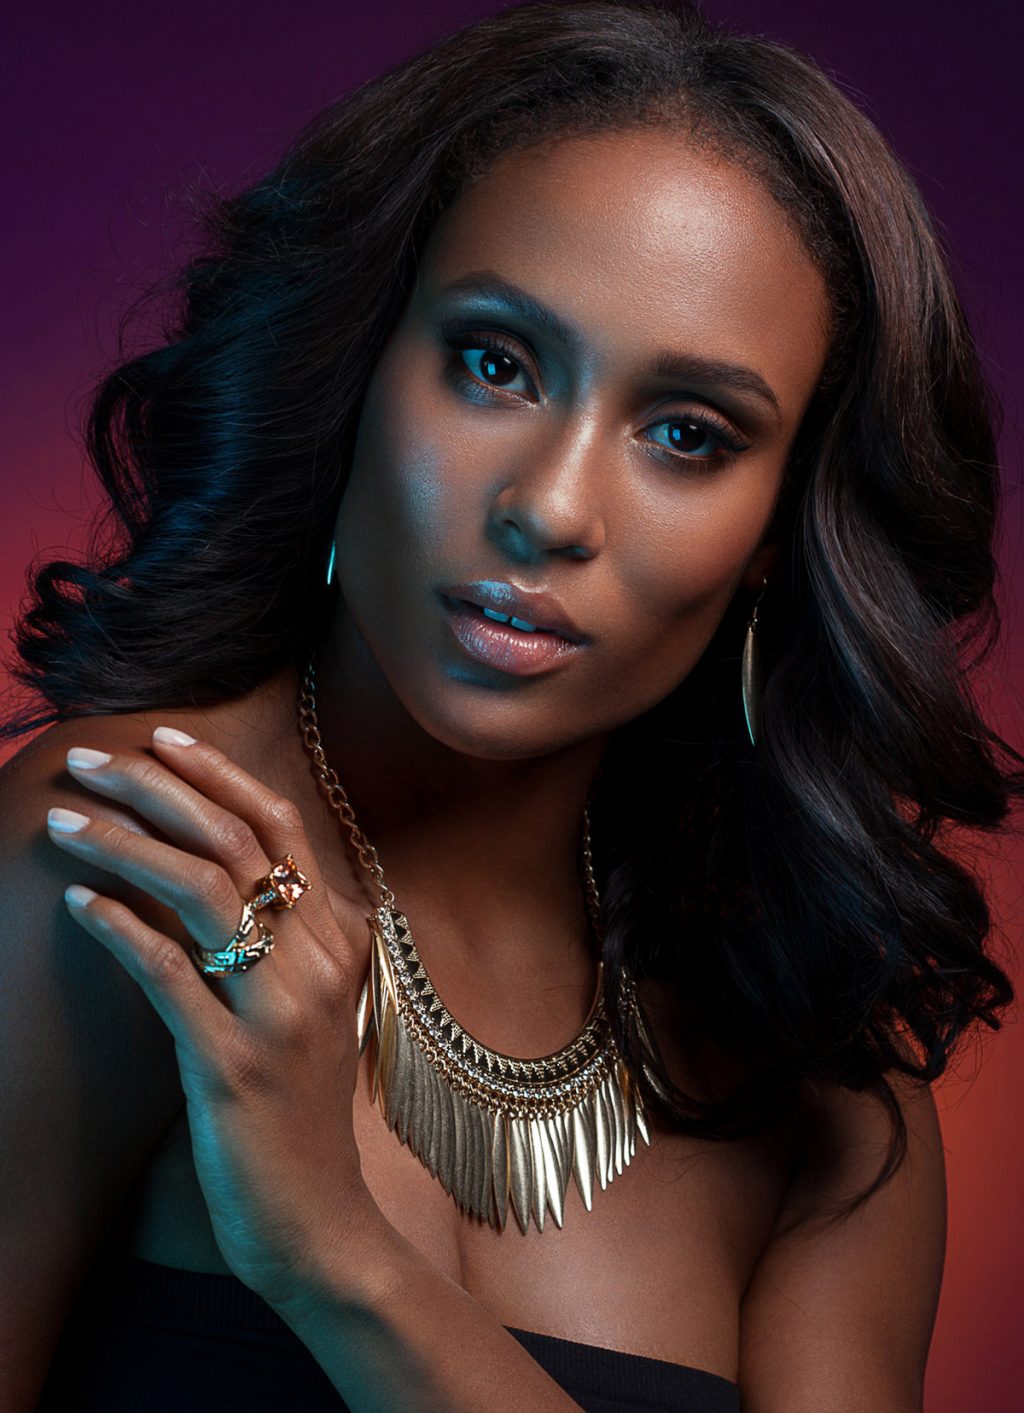
An outtake from the Jewelry Ad lighting setup segment of the Go Pro: Studio Beauty. Model Shah Granville, Makeup Stella Kae, Hair Savannah Calderon, Lighting concept Alexey Dovgulya, Photography Julia Kuzmenko
How I Decide What Colors To Use
When I am combining a few color gels in a shot, I always go for complimentary colors, for example blue and orange, purple and yellow, and so on. But I have also learned over the years that I don’t really like the way yellow, red and green colored rim lights look on caucasian skin, while deep purple and most shades of blue will almost always look beautiful on any type of skin and hair as rim lights.
I have an extensive collection of proper photographic color gels now, close to a hundred, including a few Rosco collections. They are all dense and have various levels of saturation, so I can select precisely the color and density that I need. But for many years I had used inexpensive colored gels and colored cellophane before I gathered my today’s collection. The challenge with those was always getting the saturation that I needed: thin colored cellophane and gels typically yield less saturated colors.
One important thing to keep in mind when shooting with any type of colored gels is that they can melt from the heat of the modeling lamp, and that may ruin not only the gel itself, but also damage the lamp. So it is best to either use a proper gel holder, or tape the gel to the edges of the barn doors, away from the lamp, or simply turn off the modeling light as soon as you set up your lighting and mount color gels onto the strobes.
Common Mistakes To Avoid When Shooting With Colored Gels
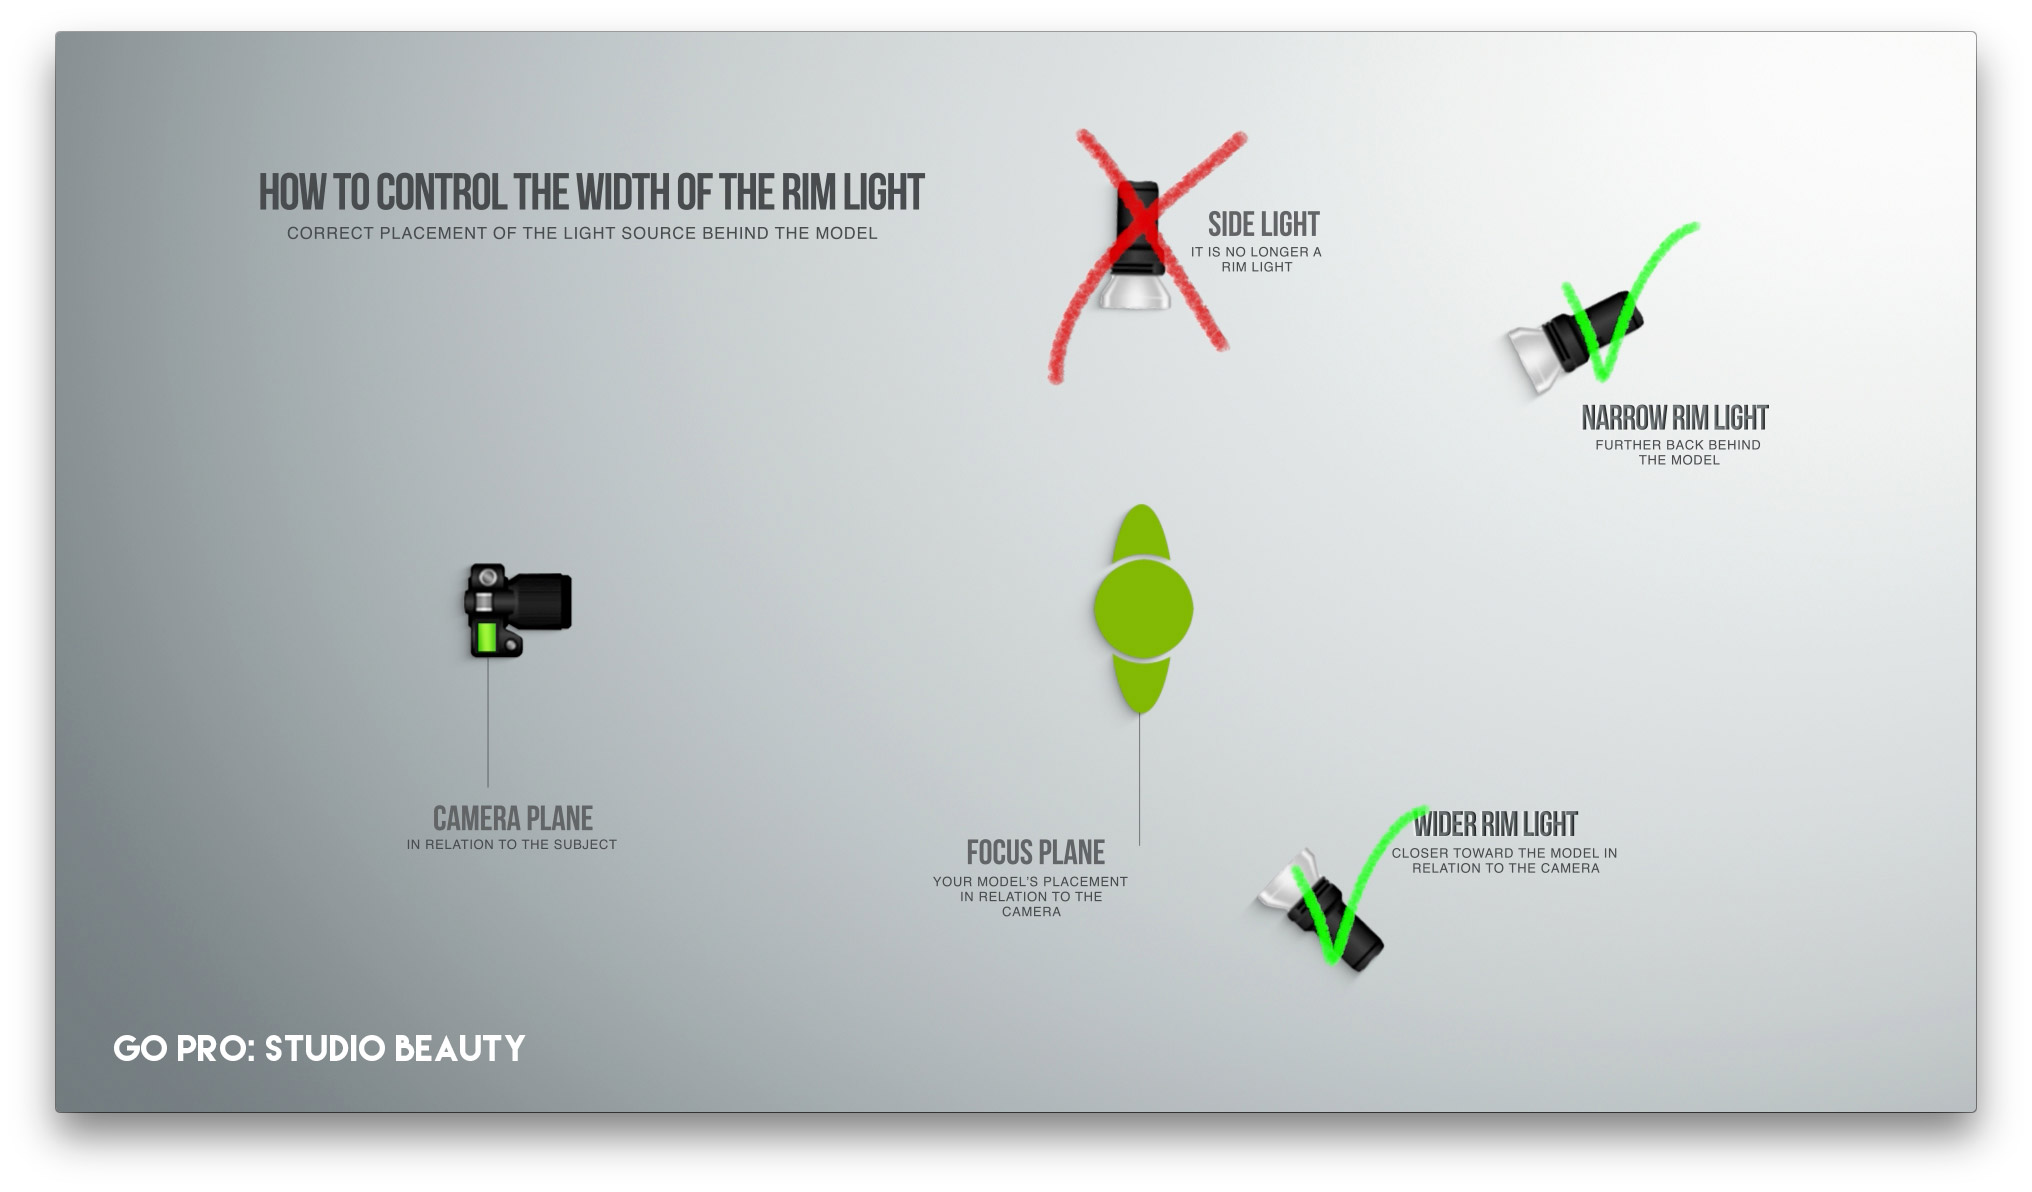
I often notice that clashing colors are being used without any respect to Color Theory in the beginners’ work, or colored rim light strobes are positioned so close to the camera that it is more like side light that creates unflattering shadows on the subject’s face and very wide, overbearing areas of color on the sides.
To avoid these mistakes make sure to educate yourself on the fundamentals of Color Theory and also remember that complimentary colors create the most pleasing color combinations in visual arts.
And when it comes to placing rim light strobes in your lighting setup, check out the following diagram from my Go Pro: Studio Beauty video course, where among other things I talk about color gels and demonstrate a few lighting setups where I use color gels in various scenarios.
The diagram below shows you how to place the rim light strobe in relation to your model, so that the rim light is attractively narrow and doesn’t spill onto the model’s face:
When shooting with a relatively dense color gel, you may want to increase the strobe power, as it may cut up to a couple of stops of light depending on how thick and dark it is.
Basically, once you’ve gotten familiar with color gels in your lighting setup, there are so many things you can do with them. Here are some of my favorite setups.
Examples
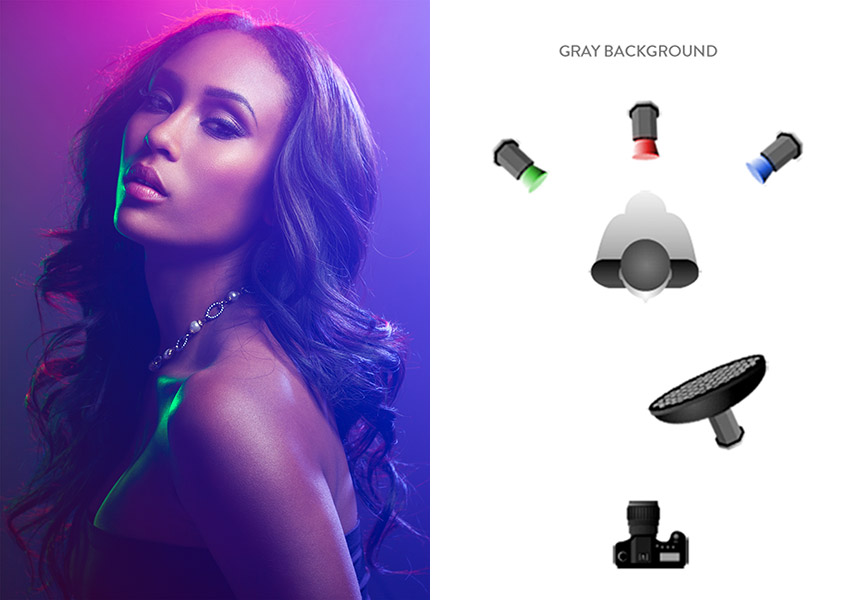
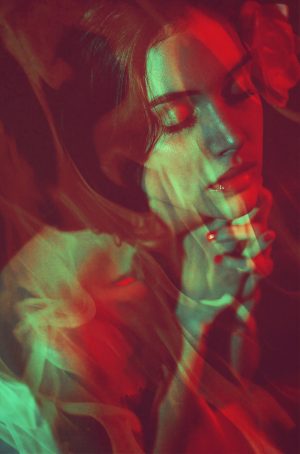
This is the “Hazy Colors” lighting setup from our Go Pro: Studio Beauty video course. We used three strobes with colored gels behind the model and a smoke machine, which allowed the colors to fill in the entire frame.
In this setup I added some color to the background by mounting a red colored gel onto the background light strobe.
This is another lighting setup we demonstrate in the Go Pro: Studio Beauty video course and the trick here is to select the correct complimentary colors which will produce white light in the areas where the light beams overlap (we explain that in detail in the video lesson). That is why it is only the shadows that pick up the color of one or the other strobe.
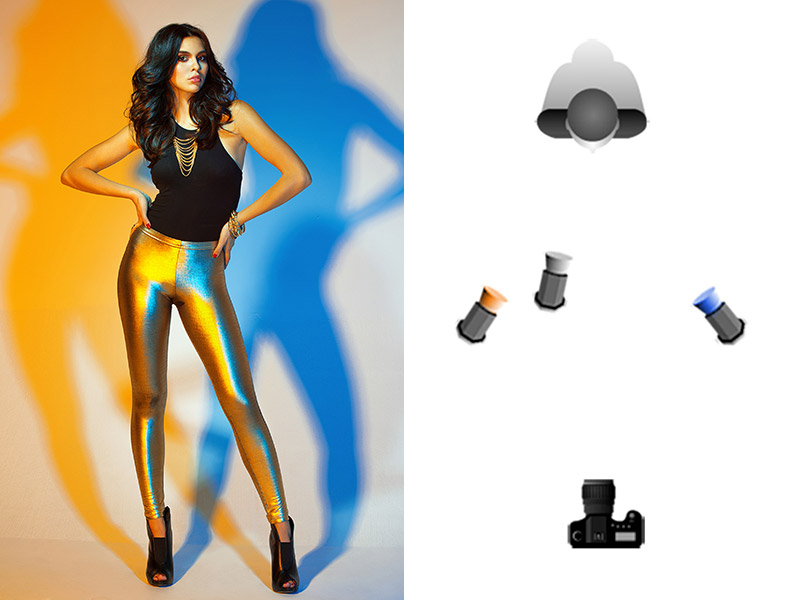
The Double Colored Shadows lighting setup segment from Go Pro: Studio Beauty. Model: Carolina Urrea, Makeup: Stella Kae, Hair: Savannah Calderon, Wardrobe Stylist: Brandon Sapin, Lighting concept: Alexey Dovgulya, Photo & post: Julia Kuzmenko
This was a jewelry editorial I photographed for LA Fashion Magazine, and when selecting the colored gel for the rim light I simply picked the closest color to the background, which l thought looked wonderful on the redhead model:
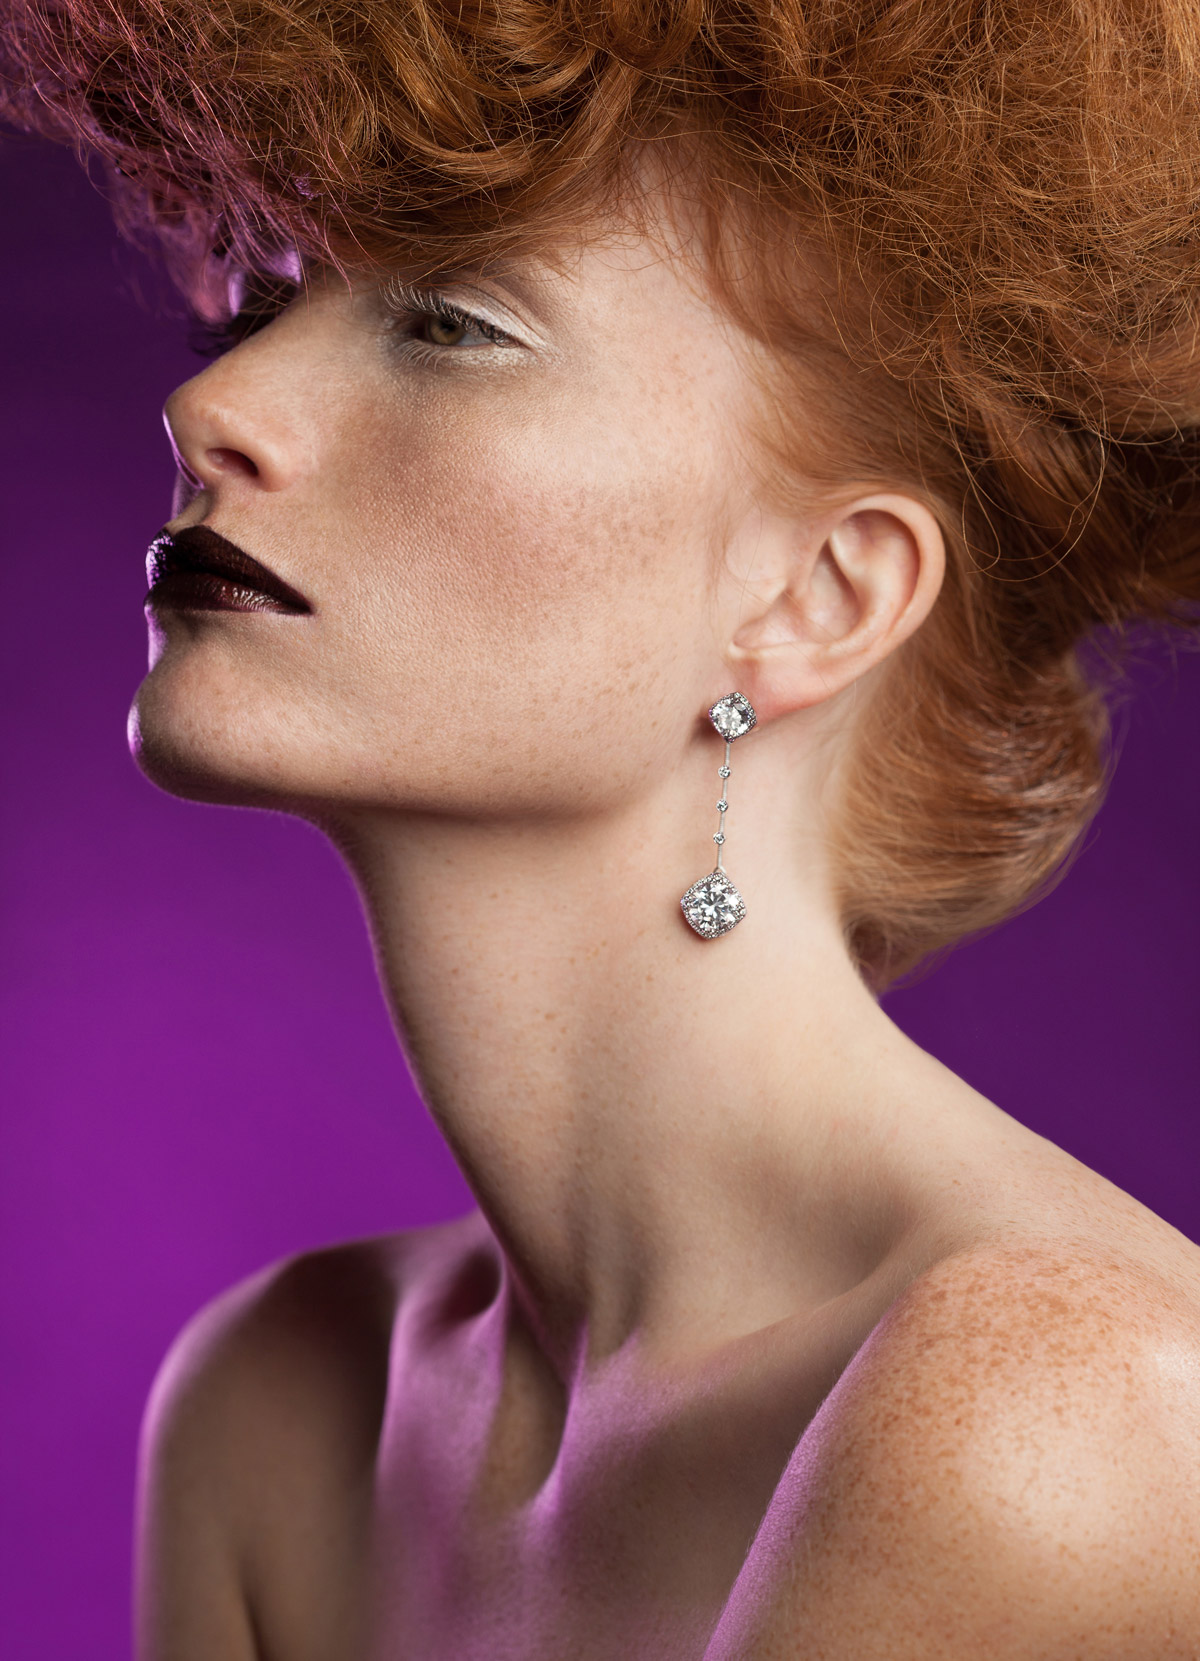
An outtake from my Jewel Crush editorial for LA Fashion Magazine, Art Direction by Matthew Mitchell, Photo & post: Julia Kuzmenko
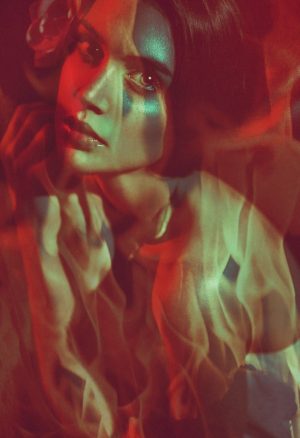
In this story, I used only two lights – one was a Beauty Dish wrapped into red gift paper, and the other was a Speedlite with a tiny green gel on it. I photographed this a few years ago, before I had a set of strobes and an abundance of colored gels. The final images required additional post-production effects, but the main colors were captured in camera (model Tori Tracy):
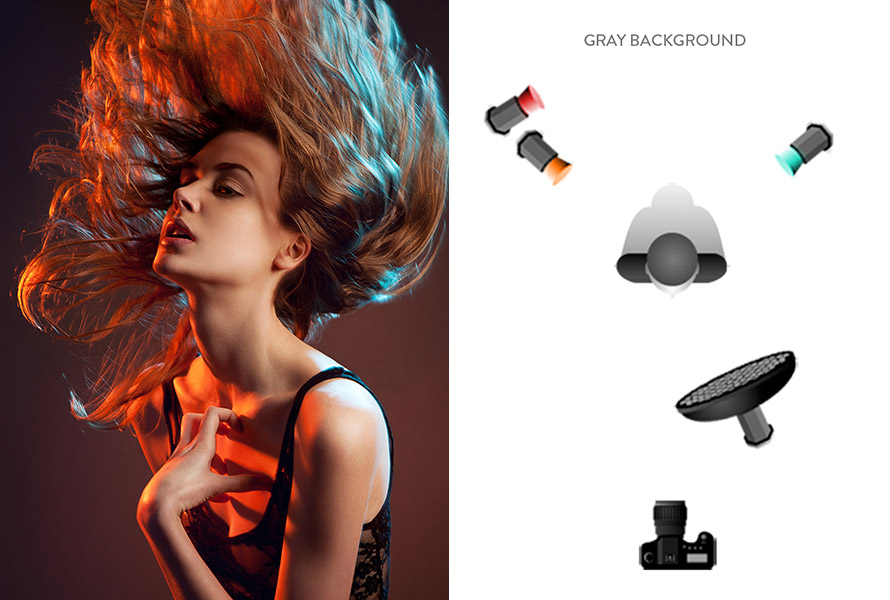
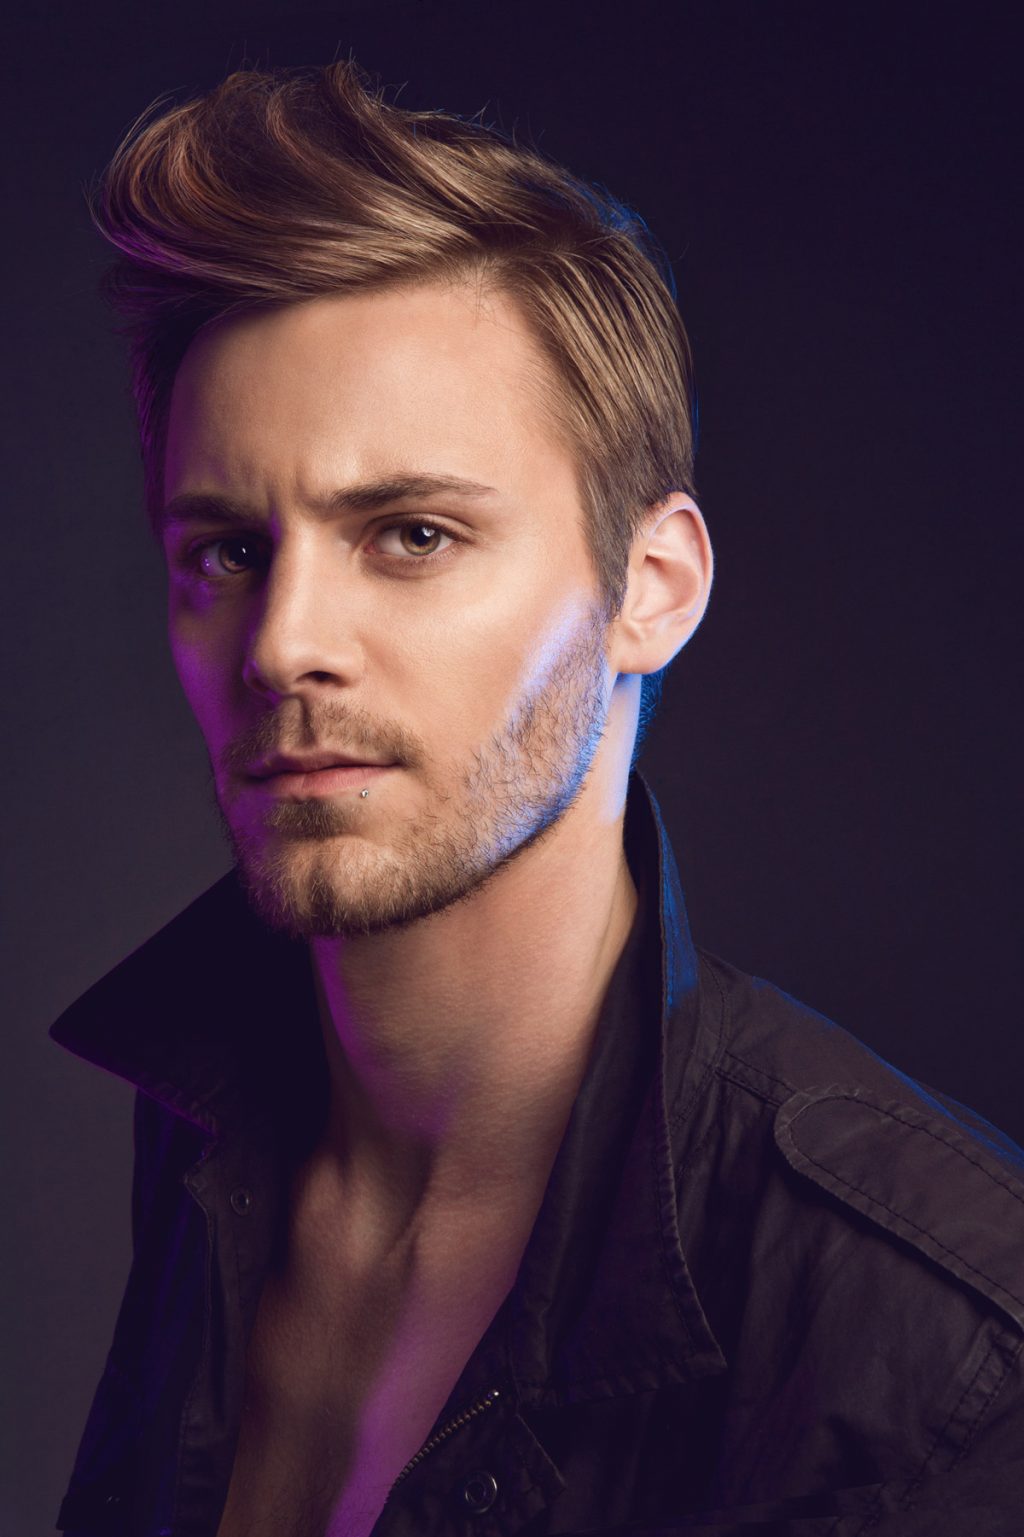
I don’t usually shoot male models, but this was a portrait for a friend who enjoyed my colorful images. The lighting set up was pretty straight forward – main light with a Beauty Dish and two gridded strobes with colored gels for the rim lights.
This was another take at the “Double Colored Shadows” setup from our Go Pro: Studio Beauty training. The lighting was set up just the same as I described above, but this image was shot before we found the correct orange gel to match to the cyan and eliminate the orange spill on the background.
You can see just how much of a difference the mismatch between the colored gels may cause in this case, if you compare the full body shot above with this one – there’s a lot more orange in the shadows of the entire scene here. But photography is art and everything goes as long as you like what you are creating:
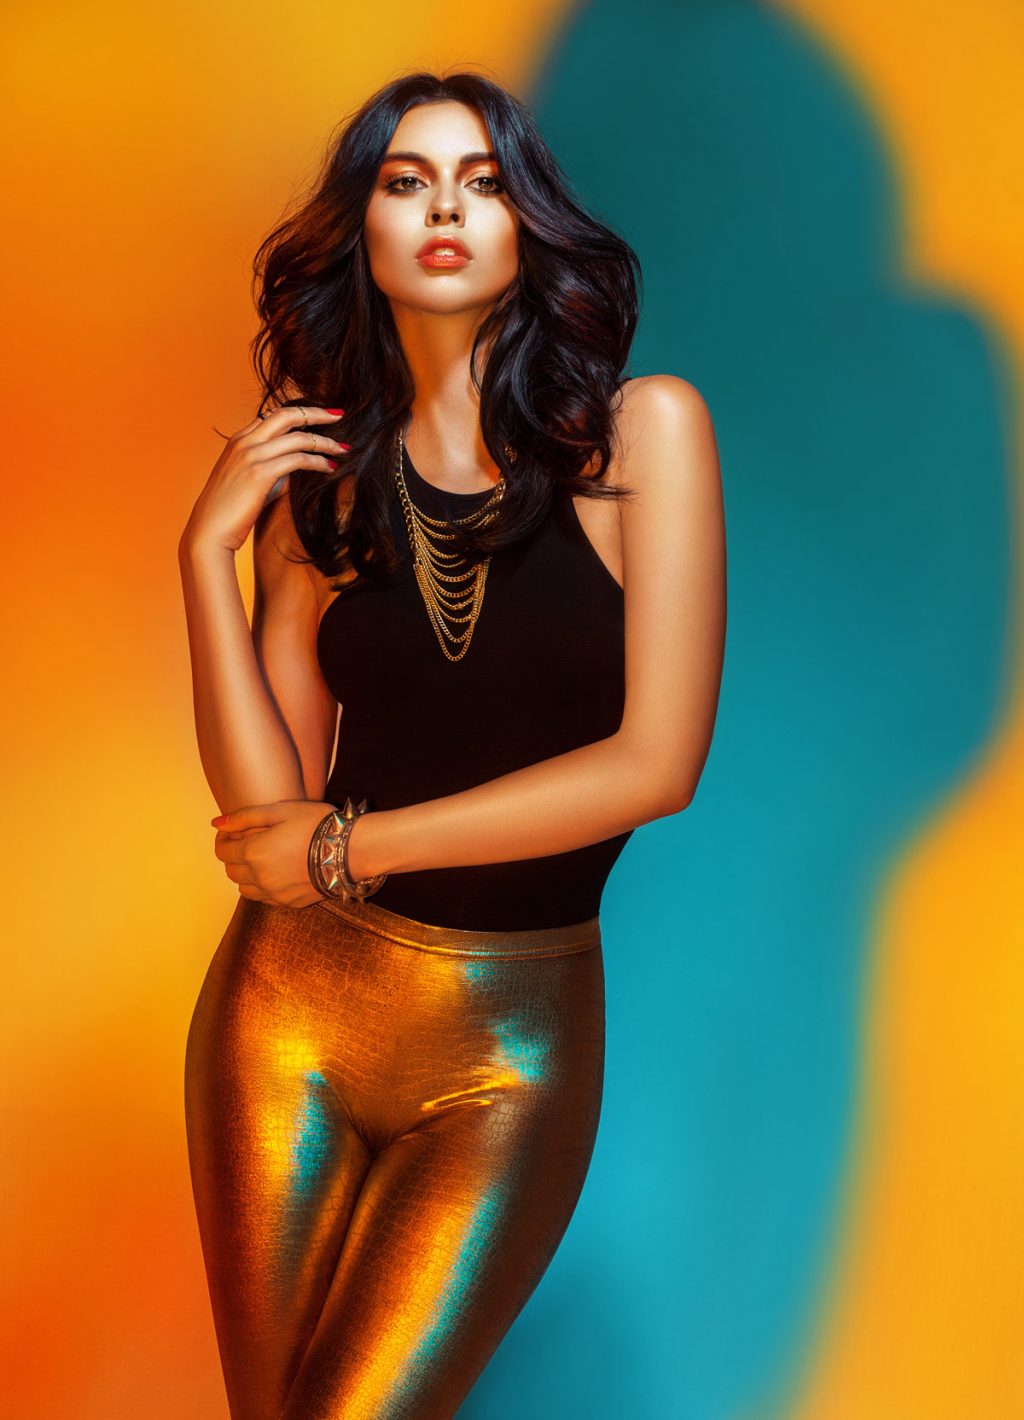
The Double Colored Shadows lighting setup segment from Go Pro: Studio Beauty. Model: Carolina Urrea, Makeup: Stella Kae, Hair: Savannah Calderon, Wardrobe Stylist: Brandon Sapin, Lighting concept: Alexey Dovgulya, Photo & post: Julia Kuzmenko
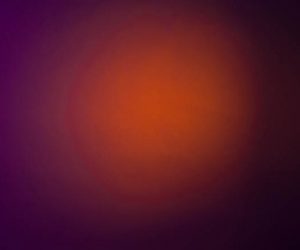
In this Go Pro: Studio Beauty setup, called “Jewelry Ad“, we used two colors for the background: an orange gel was mounted onto a gridded strobe and a purple one onto a bare strobe that was positioned a little further away from the background. I also covered the front of the softbox on camera left with a large blue sheet of gift wrapping paper, which colored the shadows on the model’s face and body:
This is how the background lighting looked before we got our model to the set:
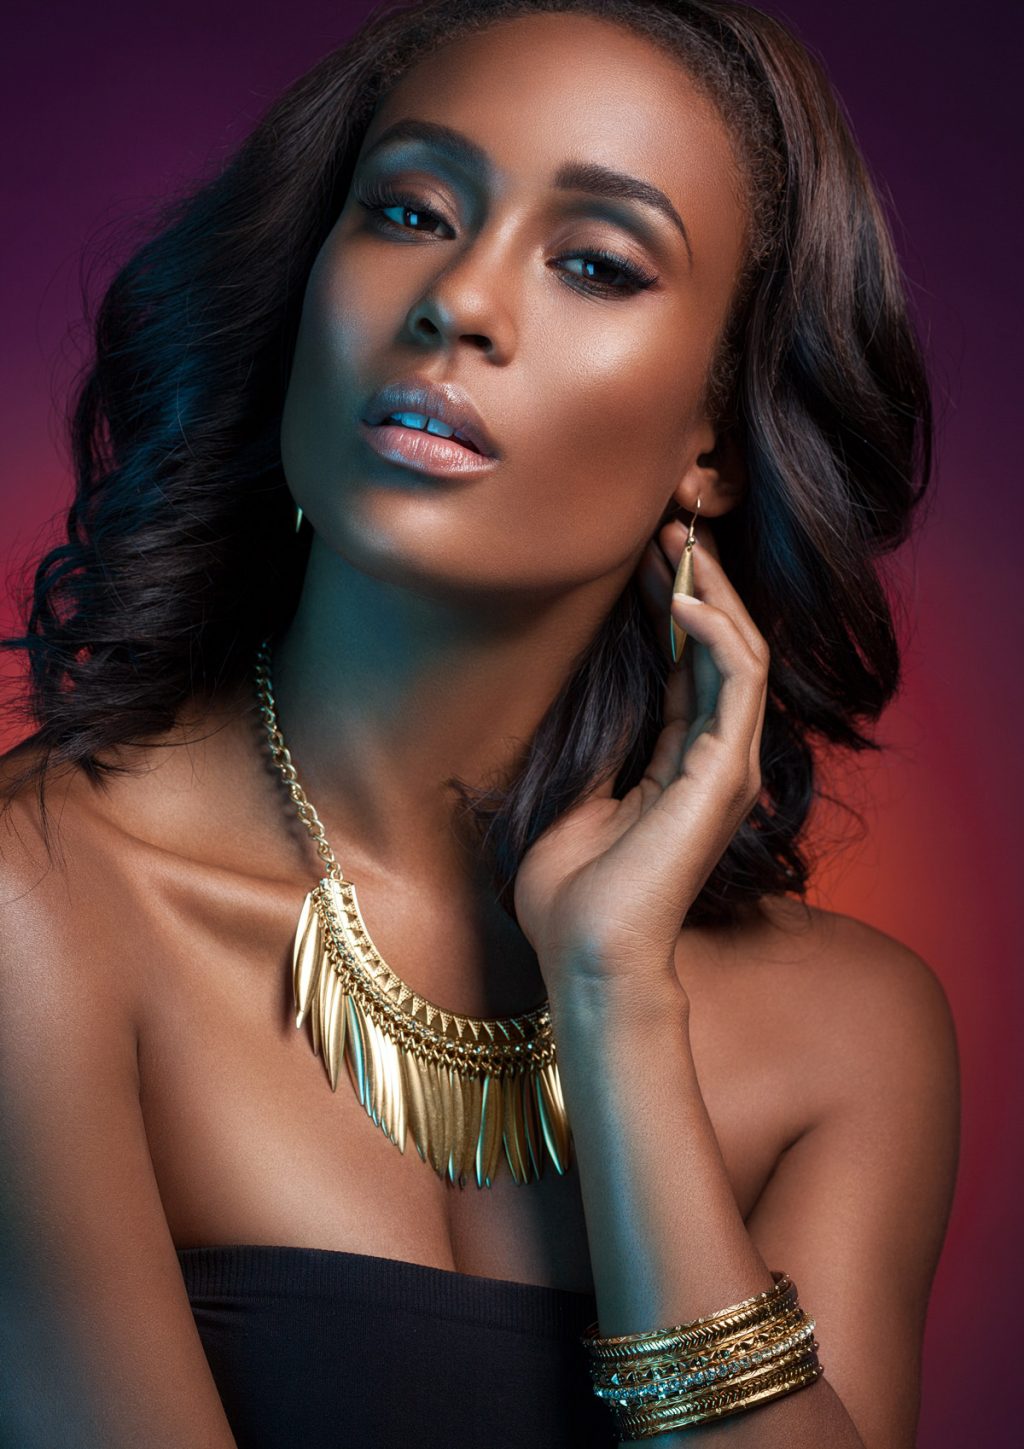
And to wrap up my today’s colorful article, I want to share an outtake from our Go Pro: Studio Beauty course.
Enjoy!
Beauty Retouching Workflow Checklist

A free PDF checklist for those who strive to be a better Beauty Retoucher







Brilliant article and great information.
Thank you.
One question please.
How do you attach your gels to the inside of your softbox?
Thanks so much