
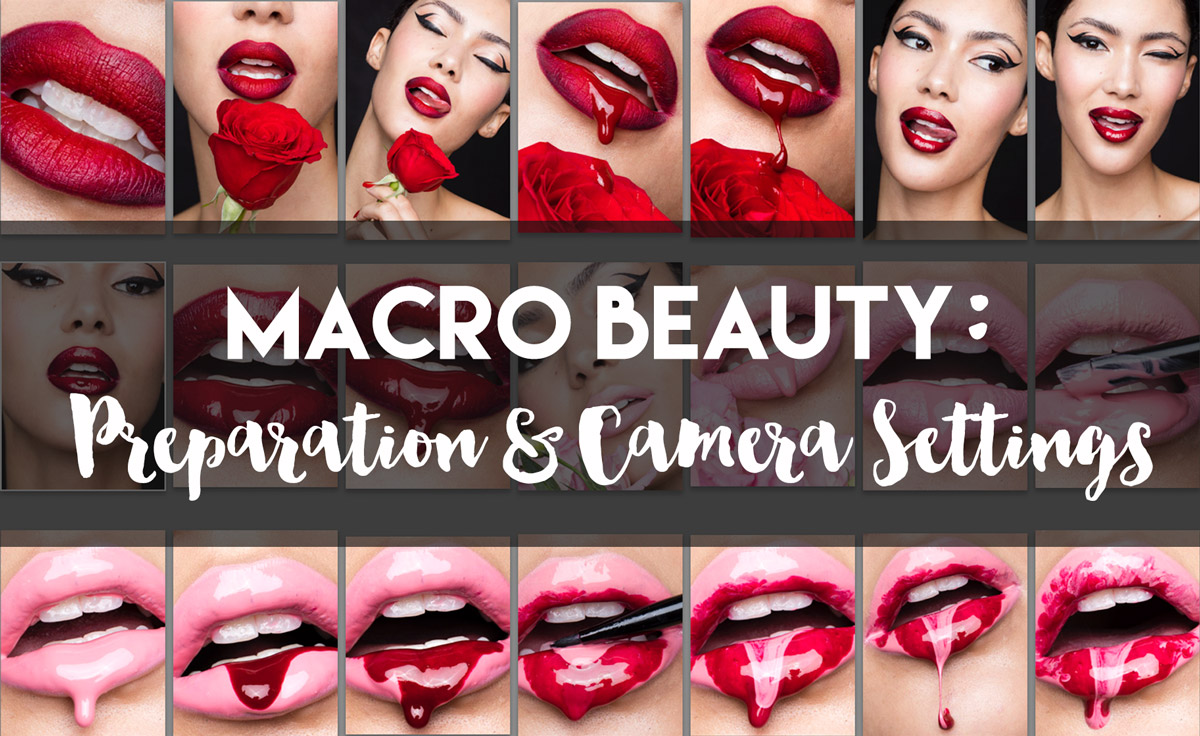
How to shoot Macro Beauty in Makeup and Skincare Photography: Preparation & Camera Settings
I mentioned briefly that I had attempted to shoot Macro Beauty before, but I’d never been satisfied with the results until the tipping point – one successful shoot – and now, looking back at my previous unsuccessful attempts, I can round up a few elements that I think caused the positive change.
If you are interested in shooting Macro Beauty images, I hope my notes will help you save time taking care of all of the elements that I find important and focus on the capture.
In my first article on Macro Beauty, I shared what gear, lenses, and studio tools I use, and today I’d like to talk about the capture itself.
1. Your Choice of Model
While I’ve always said your choice of model was a very important part of a successful photo shoot, for Macro Beauty it’s even more so. The selection criteria are slightly more sophisticated than those of an ordinary beauty shoot where you would be looking for just harmonious facial proportions, a beautiful bone structure, and a nice skin complexion.
When selecting your model for a shoot where you’re planning to capture some Macro Beauty shots – say, the lips – you will want the model’s upper front teeth to be visible when her mouth is slightly open, and her lips are relaxed.
The teeth must be white, have an even surface, and it will also help save your post-production time if the edges of the front teeth are not fractured or broken off.
Some requirements will, of course, depend on the brief and/or your (or the Art Director’s) personal preferences.
You may want to know ahead of time what the model’s lips and mouth look like when she’s smiling. I am personally not a big fan of exposed gums, but a tooth gap may look interesting within a relevant editorial concept.
When it comes to shooting eye makeup, you may want to pay attention to how “tall” the model’s upper eyelid is. Will the “landscape” allow the Makeup Artist to apply the envisioned makeup and you to photograph it well?
If, for example, you’re shooting various eyeliner designs and your model’s upper eyelid is heavy, you and your Makeup Artist may have a hard time finding the right angle to create flattering images that will fully capture the entire design as envisioned.
The other nuance that I think should be mentioned is the color of the model’s eyes. The images will look more interesting for the viewer and have more depth if the model’s iris is bright enough to allow the main light to bring out a lot of color. Very dark eyes don’t have as much depth and detail visible in the iris and may look less interesting in Macro Beauty shots.
But this, of course, depends on your personal visual preferences. I love bright blue, green, or hazel eyes with a darker rim.
2. How Your Makeup Artist Prepares Your Model For You
A flawless makeup application with minimal product on the skin is the best approach for this type of imagery. Foundation and/or powder melted by the warmth of the skin gathers in the pores, tiniest skin creases, and fine lines, which becomes visible in extreme close-up shots, and you may easily overlook it as you shoot.
This requires extra post-production time, while it can be totally avoided if the makeup artist is aware of those consequences and chooses the right products for the shoot.
If you are shooting eye makeup or, for example, different types of false eyelashes for a client, you definitely want to make sure your model arrives at the shoot with freshly groomed eyebrows. It is your responsibility to request that from her agency or mention it in the email when sending out the Call Sheet to the team.
If, for whatever reason, the model shows up with lots of dark hair stumps under her brows, the situation can still be saved by an experienced and well-prepared Makeup Artist, so share this article written by my dear friend Mikala Jean Vandenbroucke with your MUA: Makeup Tips: Prepping Model’s Face for a Beauty Shoot.
Ideally, your model takes care of her skin and lips well before the shoot (and always), so you don’t have to deal with chapped lips in post-production. Trust me, that’s the type of issue I hope I never have to retouch again.
If, however, your model’s lip surface is not soft and even, check out this Makeup Tip, which I also learned from Mikala: 3 Retouching PITAs to Prevent in Pre-Capture.
3. Angles & Posing
After some frustrating trial and error and analyzing strong Macro Beauty shots in magazines and online, I came to the conclusion that my best close-up shots of both lips and eyes are taken when the model is slightly tilting her head back, allowing a lot of light to illuminate the facial feature I am photographing.
Reassure your model that even if her pose feels awkward to her, she should not worry about it because you’re only capturing a part of her face and nothing else will be visible in these images.
I find that when shooting Macro Beauty I treat my model’s face and its parts almost more like a product photographer, finding the best angles and light just for the facial feature that I am capturing and disregarding the rest of the face, body, etc.
4. Aperture
In my Studio Beauty video course, we begin by establishing our standard Studio Beauty camera settings, and they are:
- ISO 100 (or the minimum setting on your DSLR camera)
- Shutter Speed 1/160 sec (this is the shutter speed where the movement of your body will not interfere)
- Aperture at least f/8 for head-and-shoulders framing (to avoid capturing overly-blurred parts of the image)
When you are shooting at your minimal focusing distance, the depth of field becomes extremely shallow, and it is next to impossible to capture the entire face tack sharp given you are aiming to get an interesting artistic angle (rather than flat onto the face to match the focus plane with the plane of the face).
The solution is simple – close down your aperture to f/13 or even narrower, and compensate with extra light power.
Check out this article where I mention f-stops and doubling or halving the light.
You may argue that it’s acceptable and maybe even interesting to capture a face with a shallow depth of field, and I will strongly disagree… BUT! It is, as with most things in all types of arts, a personal preference and has its own place somewhere, so you do you!
5. Specular Highlights
Your choice of the light modifier for the main light will greatly influence the look and feel of the images. While a Beauty Dish positioned relatively far from the face may look fine as a reflection in the eye as well as on a matte, satin, or metallic lipstick, I personally find that a large octabox is ideal for beautiful reflections in the glossy eye makeup or on the highly reflective lip gloss.
You can check out my comparison between the images photographed with a beauty dish and a softbox in my first article on Macro Beauty. But after that shoot, I actually purchased a large 34″ parabolic reflector (Para 88 by Broncolor), and I am extremely happy with the size and shape of the highlights created with it.
While you can surely place your Beauty Dish very close to the model’s face and create larger highlights on glossy lips, the large octabox or a parabolic reflector can actually be placed a little further behind you and not get in your way, which is much more convenient for you, the model and the Makeup Artist during the shoot.
6. The Overall Concept and Impact
You will express yourself in any way you want, but allow me to suggest that for your portfolio work, a simple one-color lipstick for macro lip images might be a little too boring and won’t help your work stand out.
The simplest shot that I’ve shared is this one below, and it is the highly detailed texture of the lips that has made it interesting to me.
So my suggestion is to push yourself and your Makeup Artist to come up with fun ideas that will elevate your Macro Beauty body of work if that is what you’d like to shoot and get hired for.
—
I hope you find my observations helpful. If so, print this article out and cross out each point as you prepare for your next Macro Beauty shoot. Share this link with your Makeup Artist so you’re both on the same page and can aim for top results together in your next shoot.
Happy Macro shooting! 🙂
 If you are beginning your journey into the world of Beauty Photography, check out my video course titled Studio Beauty, where I share everything I know about lighting, executing beauty shoots, and working with models.
Use discount code MBP99 for 50% off.


amazing photography! one thing you didn’t mention was the editing process. thats a huge part of the final product, will you be posting about that?
Hi Julie, wonderful piece on macro beauty, whose info can be hard to come by especially from talented photogs like yourself! Thanks for sharing. I’m wondering what size of the octabox you ended up purchasing if you’d care to share. Thanks in advance!
NVM.. found my answer in your other article 60 inch. I like how you make us work a little … lol. Thanks!
These are fantastic tips! I have not dived into this genre yet but look forward to getting into it soon. Thanks again!
What are your thoughts on the new mirrorless cameras for shooting beauty? Specifically the Sony cameras.
Thanks
Hi Nyla,
I’m an artist and don’t spend any time looking for tools other than those that I already use and am happy with. I have been shooting with Canon cameras always and have no idea about any other brands. I am interested in medium format cameras, however, and am slowly educating myself on those, but it’s all very new to me, so I am not qualified to give any suggestions on those either.