Important Steps That I Take Between The Capture and Retouching
My “in-between” workflow used to be pretty loose and I didn’t feel the need to change anything because I wasn’t shooting much. Most of my shoots were mainly shot with the same creative teams, so I could remember the credits for any of my images in a heartbeat. My archiving routines have been pretty solid for the past 7 years, so finding any image from any photo shoot has never been a problem – I can locate any image I have ever worked on within 10 seconds, literally.
I started shooting a lot more in the past year; new creative professionals in my teams, new modeling agencies and a few collaboration shoots per month. I figured I wouldn’t be able to just memorize all of the details of each photo shoot, and I’d hate to miss anyone’s name in the credits at any point in the future. So, I infused a few new steps into my existing routine and it has been working very well so far.
Here’s what my steps between the actual photo shoot and its retouching look like.
STEP 1: INITIAL DOWNLOAD
As soon as I arrive home after a shoot, I pull out all of the memory cards, lay them out in the shooting order on my desk and begin downloading the images. We usually shoot and film all day, so the download can take some time. Meanwhile, I unpack and sort out my gear, change and come back to my desk to look through the images from the shoot.
I usually don’t attempt to rate and make my selects on the day of the shoot, as I need some time to be able to look at the images objectively. On the night of the shoot I only check out what we have shot, whether or not I got the shots that I planned, and etc.
I never leave this until the next day, or even till the morning, all of the work from the day needs to be downloaded onto the computer on the day.
STEP 2: TEXT FILE WITH CREDITS
Usually during the shoot we share some BTS images and videos on Instagram and I make sure to ask everyone on the team for their IG names and tag them regardless of whether or not they are in the snapshots I posted.
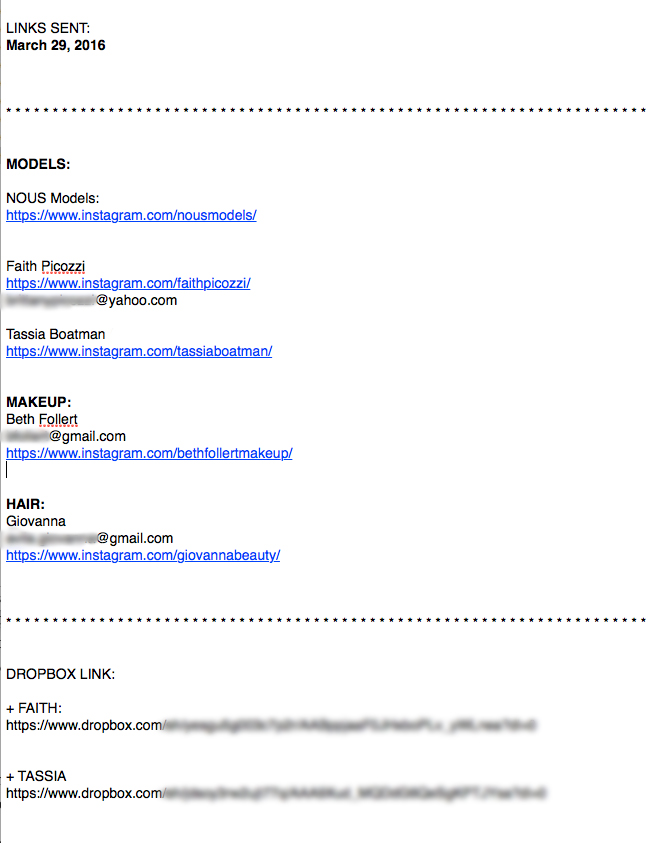
In the evening, I open my Instagram page on the computer, create a new simple TextEdit file and copy everyone’s name along with their Instagram URLs into the file. I make notes on the modeling agencies and add their IG handles as well, so that when I post retouched images I always tag the modeling agency along with the model’s name.
STEP 3: DROPBOX FOLDER
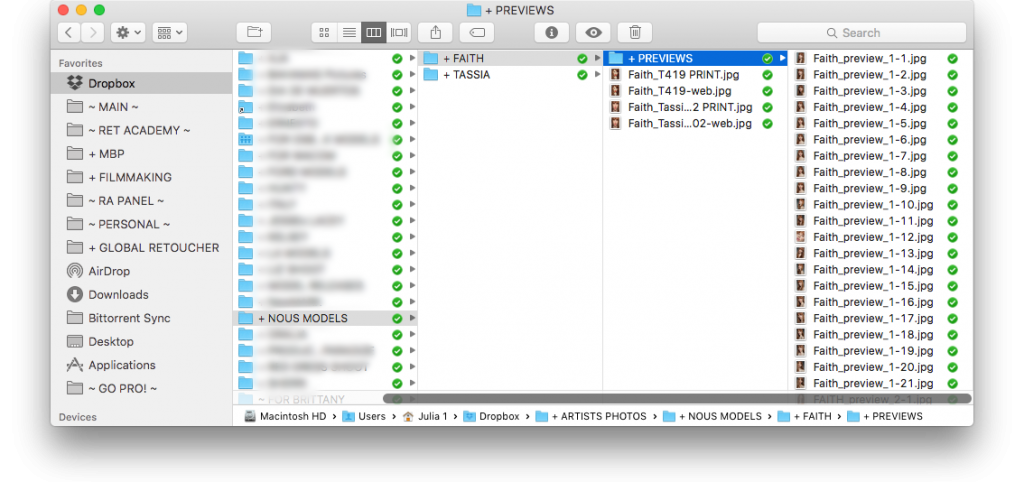
I have a designated folder for all of the retouched images to share with my teams. I typically create folders named after modeling agencies and the subfolders will be the models’ names in them. If I shot with a model more than once I will have two folders for her, because the creative team might have been different, so I will be sending the links to these folders to different artists.
Inside each model’s folder, I will have a subfolder titled + PREVIEWS. This is for when the modeling agency wants to see some previews from the test shoot to select what they would like me to retouch for the model’s portfolio. Some agencies are happy with my own selections that I retouch and don’t ask for the previews at all, so there won’t be such a subfolder.
The plus symbol in the folder title puts it to the top of the list in the Mac’s Finder and all of the images in the folder, regardless of their names, will be underneath it, making it easy to access the Previews folder super quickly when needed.
And each retouched image that I share with my teams and modeling agencies is always in two files: in high resolution for print and low resolution for the web.
STEP 4: EMAIL NOTIFICATION
At some point during the shoot I also make sure I would be able to obtain each team member’s email address so I can send them the links to the retouched images later. I usually send out this email after I retouch and publish some of the images from the shoot, so there’s something for the team to download from the links that I am sending.
Typically, the team is already aware of the image use as we discuss it before and during the shoot. Everyone knows whether or not the images will be posted as I retouch them, or they will only become available after the entire story is retouched, and/or submitted to a publication and published.
Regardless, I send out this email to thank everyone, share the link to the Drobpox folder with the retouched images and remind them that everyone must credit the entire team when they post the images on their social media.
STEP 5: CULLING AND PREPPING
I spend a few hours each night the following few nights, going over the entire photo shoot and rating the images in Lightroom. I mark all unusable images with 1 star. Considering how much I shoot, and also that I have just gotten the 50MP Canon 5Ds, I have learned to be brutal with 1-star ratings. No more “saving for just in case” – just double check all the 1-star images and delete.
As I get through the images I re-crop, color- and exposure-correct where needed, then sync these settings in large batches before I move on and rate them.
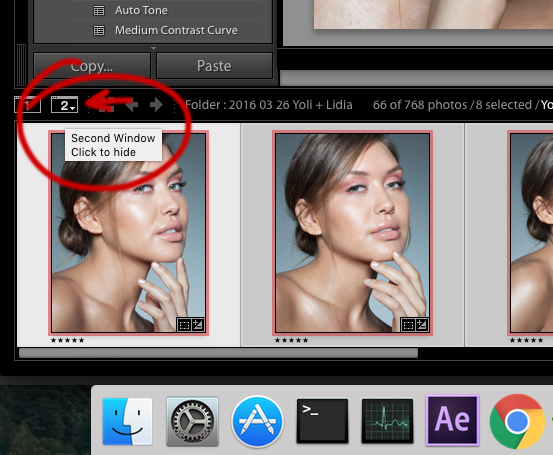
All of the potentially usable images will be initially marked with 5 stars. Once I have gone through all of the shots, I will filter and select a couple of dozens of 5-star images of each look and bring them up into the Second Window:
Here I will compare similar frames, decide what shots are stronger and rate the “weaker” ones with 4 stars, which will automatically remove them from my selection in the Second Window (given I am in the Develop Module) and leave me only with the strongest shots of the particular look.
Now, I can assess all various frames that I have for this look and make my selection for retouching. The shots that I think I might want to retouch I will mark Red by pressing 6 on the keyboard.
After I have gone through the entire shoot, and probably on the following night, I will filter just my 5-star Red shots and make my final selection of the images to retouch and mark them Yellow (by pressing 7).
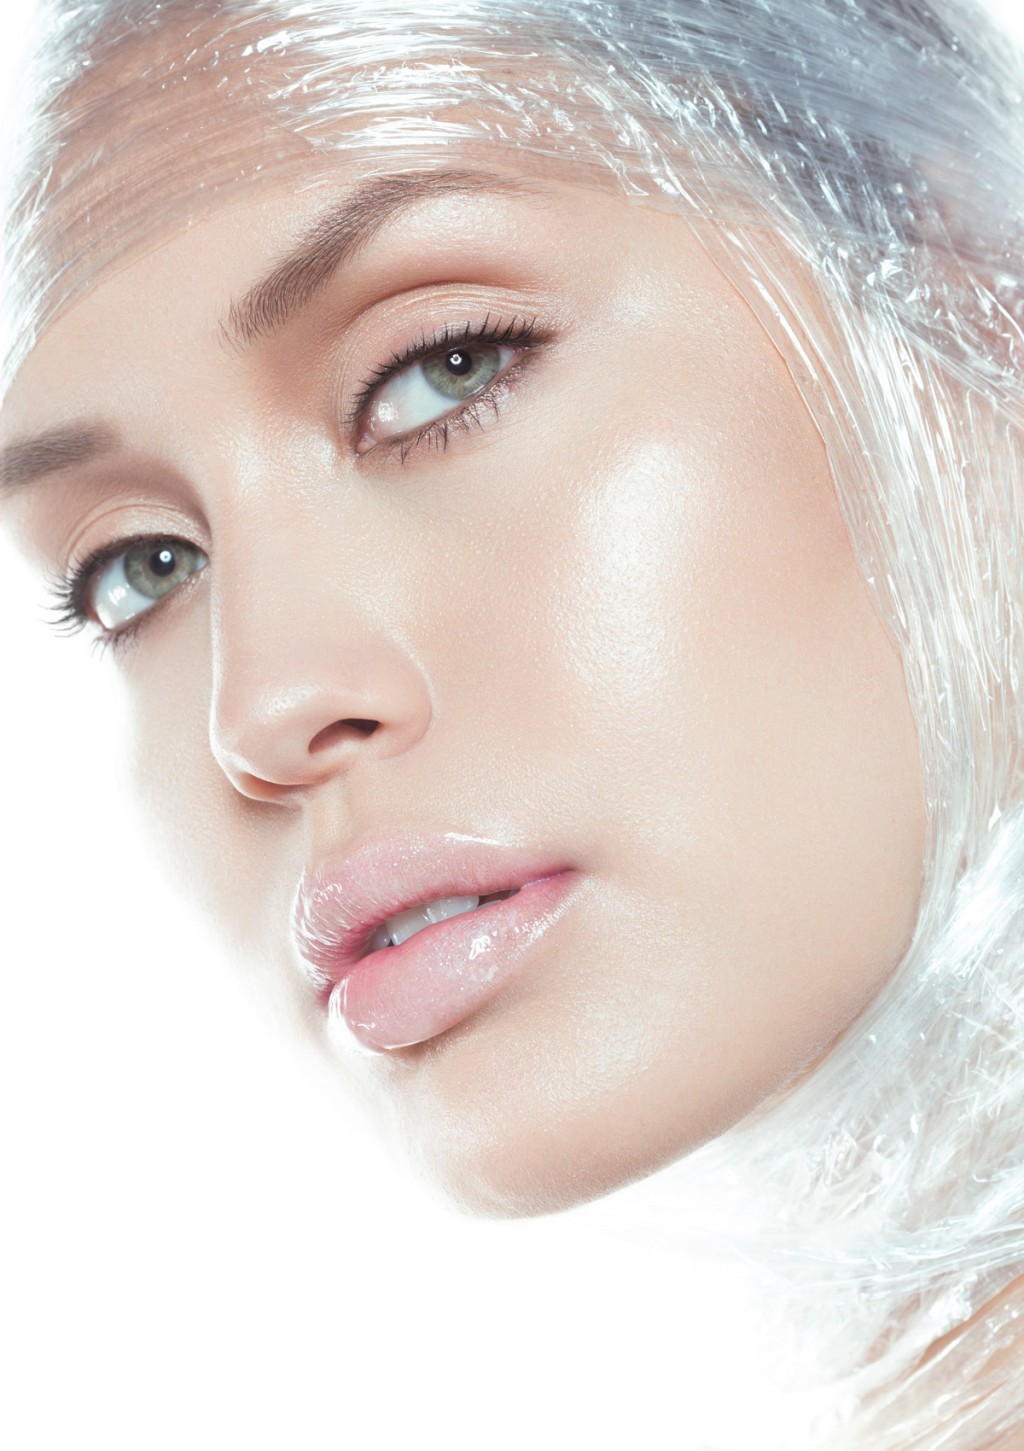
Click to enlarge // Lidia of Ford Models, Los Angeles, makeup by Lupe Moreno, photo & post Julia Kuzmenko
STEP 5: BACK UP
At some point after the 1-star unusable shots have been deleted, I back up the entire shoot on an external drive. I come back and add the retouched images to it later as I progress through the shoot, but I make sure to save the copies of the original files as soon as possible after the shoot.
I am also subscribed to the online archiving service CrashPlan and have Time Machine backing up my working computer on a daily basis. So, with all these precautions, I hope to never lose any of my work, not only because it would break my heart, but also because we photographers are responsible for the images on behalf of the entire team of people who invested their time, skills and effort.
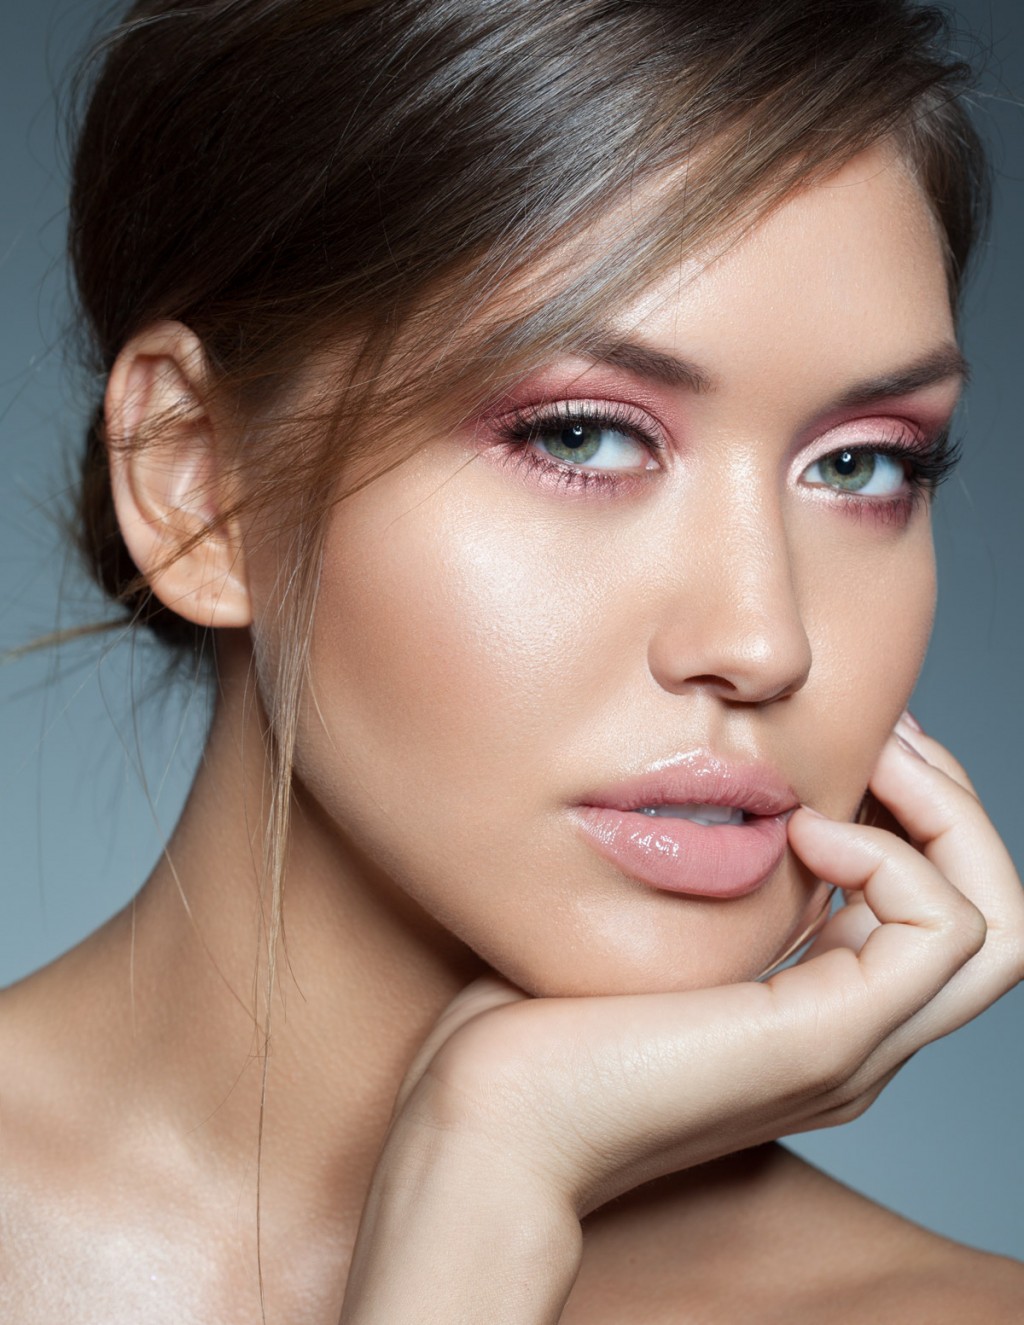
Click to enlarge // Lidia of Ford Models, Los Angeles, makeup by Lupe Moreno, photo & post Julia Kuzmenko
And that’s it. In one of my next posts I will share how I prep my images before I begin retouching them.
If you found this article helpful, share it with your photographer friends who might appreciate it too.
Till next time!
Beauty Retouching Workflow Checklist

A free PDF checklist for those who strive to be a better Beauty Retoucher









I wonder , which lens are you use with 5DS ?
Hi Caglar,
I mainly shoot with the same Canon 100mm Macro, as I have been shooting with 5D mark II 🙂
Funny, while reading I had to smile because I found so many similarities to my own post shooting workflow (although miles away from professional) . but therefore I am much “prouder” of myself or better said happy that my thoughts about this very important part are going to the right direction. Thanks a lot for sharing your thoughts. I like your work and your blog and the tutorials very much. Greetings Gregory
Thanks so much, Gregory! I appreciate it 🙂
I am very happy that our workflows are similar – I have been somewhat “growing” into this routine over the years, so some things are there because I had to learn it the hard way 🙂
Hi Julia, hard ways are mostly more effective because you have to use brainpower intensively…
Hi Julia,
Question about Step 5:
How do you bring your five star selections up into the second window? Is the second window set to “Survey”? That seems to be the only way I can bring multiple images up into the second window, but it does not remove the photos if I decrease the rating to four stars. What step am I missing?
Thanks,
Samantha
Hi Samantha,
Sure, it will only remove the “down rated” images if you first set a filter to, say, only “equals 5 stars”, than select the images and open the Survey in the second window. Now, if you rate any of the selected images any lower star, it will remove it from the selection.
Hope this helps!
Yes – that did it! I was missing the filter setting. Thank you!
Ah awesome! Yes, I assumed that 🙂
Julia, what size are the “preview” images sent to agencies?
Thank you!
Hi Deea,
What exactly do you mean? What agencies and what previews?
Typically, I send all previews to anyone in JPEG about 700-900px wide.