
My Beauty Retouching Workflow: Before Retouching Even Begins – Part II
In the first part of this article I wrote about the things that I am convinced are very important to keep in mind before you even consider to invest your time into retouching an image.
Today I want to talk about the very first part of my “preparation for retouching” process, how I handle each photoshoot and what I do before I even start working on a single image. This system has developed organically for me in the past year, and I can’t tell you enough how much time it saves me in the long run.
I am a firm believer that the pre-Photoshop prepping of the files is super important and it all starts with smart selection and rating.
CULLING & RATING
I work in Adobe Lightroom 5 and even though I have attempted to switch to Capture One a few times over the past 5 years, I came running back to my routine in Lightroom, just because I made it so convenient and powerful for my own work, that I do not have any desire to change anything.
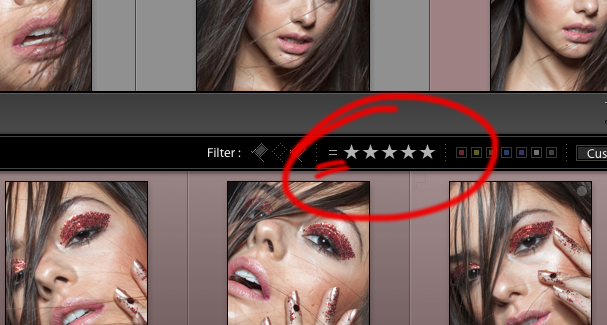
I use Lightroom to manage all my shoots and the first thing I do after any shoot has been imported into it is go to Develop Module to view all of the images one by one and rate them either 1 star (“definite no-go” shots: missed focus, blinks, odd facial expressions, etc.) or 5 stars for those that I think might have potential.
I have grown to keep it super simple – I leave no files unrated and do not care to rate 2, 3 or 4 stars anymore – each file either has retouching potential or it doesn’t, so it can be deleted.
You can use flags to mark the “definite no-go” shots, or whatever other rating system you want, of course, I am just used to using 1 and 5 stars.
After all of the images have been rated, I filter out 1-star shots, glance through them to confirm I only selected the shots I definitely don’t plan on using, then right-click, select Remove Photo and then Delete From Disk – if I’m not going to use them, I don’t need them to take up space on my hard drive, especially after I started shooting with my new 50.6 Megapixel full-frame Canon 5Ds.
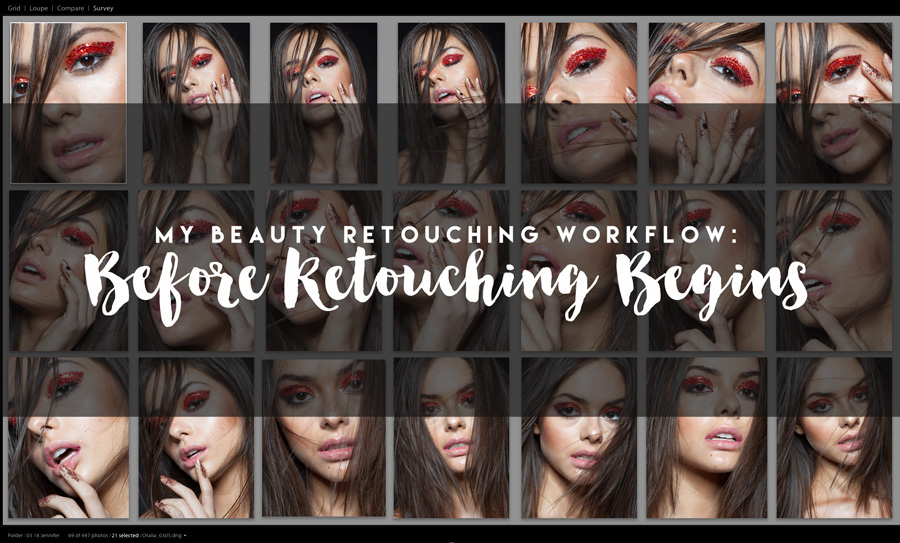
In my next step I filter all 5-star images and take them into the Second Window (see screenshot below) batch by batch, to compare and rate down those that are not so strong, so I can progress closer to my final list of images to retouch.
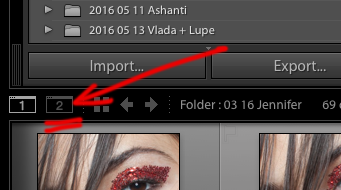
I typically try to select not more than 20-25 images in a batch, so that the previews are big enough for me to compare and select the stronger shots in the Survey mode of the Second Window:
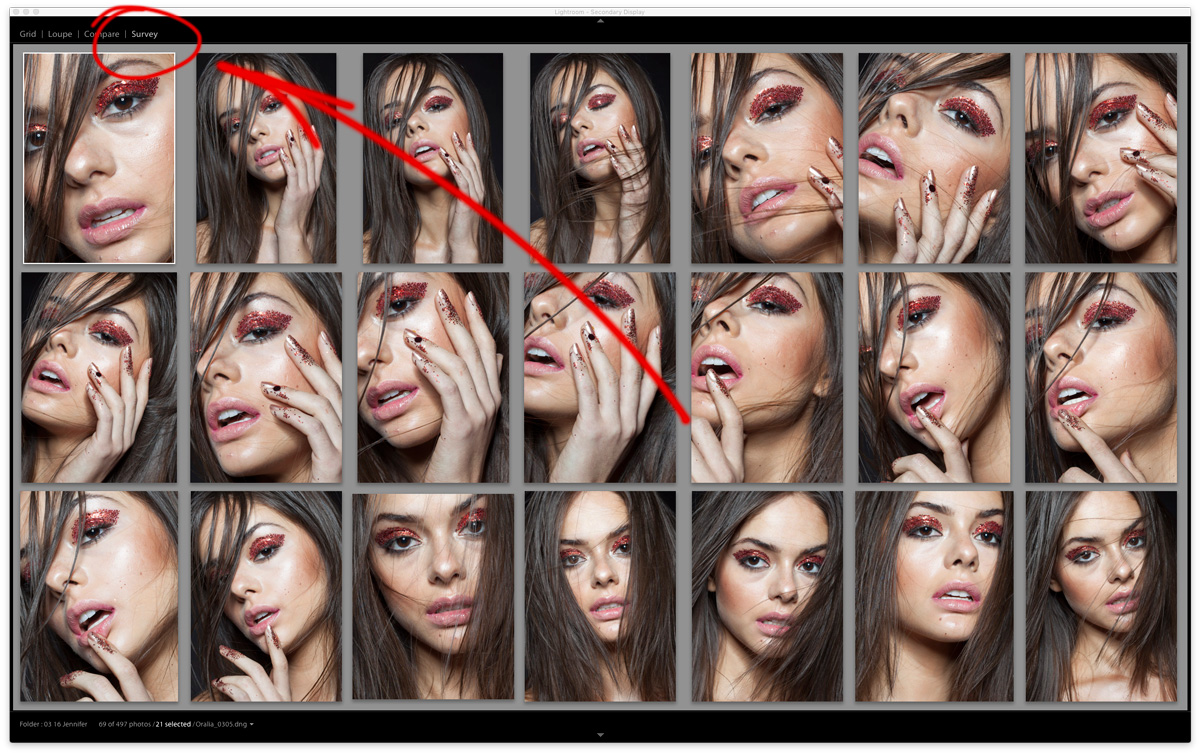
Click to Enlarge
Because I have filtered the 5-star images before taking them into the Second Window, as I rate the weaker shots down to 4 stars they will disappear from this window, leaving me only with the strongest 5-star shots.
I aim to keep only the best images in my final 5-star selection. Some may be of similar frames, but my final goal will be to mark my final “story” selection wth Red color. If there are two images that I think would be great as finals, but I can’t decide which one to go with, I’ll mark Red both of them.
My Red selection is what I ideally want to show my client or the team to select and confirm the final-finals. And those I will mark Yellow after I get feedback from the client or my team. Even when I am the sole decision maker I do the same – mark Red the broader final selection, and Yellow – the definite retouching candidates.
So, at the end of the day, at any time when I open any of my previous shoot folders, I know I can filter it by 5 stars and Yellow and pick any of the images to retouch. It especially works well for my creative collaborations, because I often don’t get to retouch them all at once and often can be working on those shoots over the span of a few months.
As time passes by and I dig into my older shoots, I may feel like looking at other options, so I will select the Red and Yellow filters to see if I still agree with my Yellow “final-finals” selection and don’t want to change my mind… you just never know. Either way, I have a very tight pool of images, so I don’t have to waste my time scrolling through hundreds of shots each time I am ready to retouch an image. And it also allows me to make a coherent final selection that looks like a story rather than a bunch of random shots, which is very important for editorials.
All of this may not seem like an important part of the process, but it really is and I am so happy that I have this system in place now. I highly recommend that you develop your own as well. Use mine as an example or take it as is – it’s been helping me, and I hope it will help you to keep your shoots and selection process under control.
In the next part of this article, I will share how I prepare each photo in the Raw Converter before I take it to Photoshop.
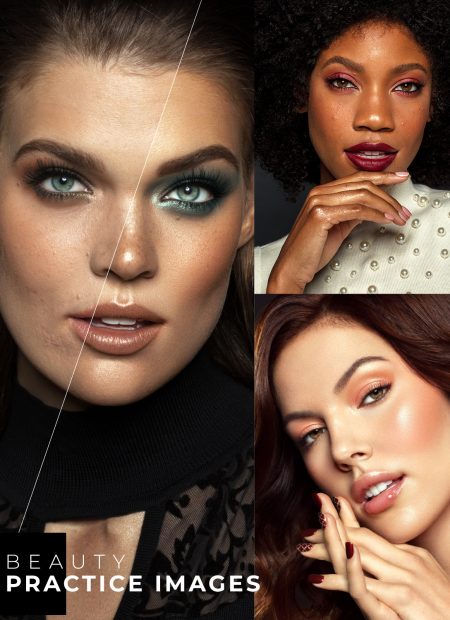
Image credits: Model Oralia Cortes, Makeup Lupe Moreno, from our one-on-one Beauty Photography & Retouching training in Los Angeles with Jennifer McIntyre.


Your hard works is paying off! all I can say is that you deserve this and much more! thank you for sharing your work and be an inspiration!