Planning & Preparing For a Skincare Campaign
We all invest a lot of time and effort into learning photography, makeup, lighting and developing our skills in the studio. We work on growing our social following, shoot and retouch tons of unpaid projects, and we hope and wait for that breakthrough call from our dream client. And since you’re reading this blog, I am sure our aspirations are more or less similar.
But are you really ready to take on such a project if that happens tomorrow?
Because photography is a type of art that happens in the moment, we can’t rehearse it. We can only practice a lot, test with new models and creative professionals, shoot planned editorials – all of that just so that we can perform our best on that magical day regardless of the variables and circumstances.
Often you are guided and limited by a client’s very strict brief, and sometimes you are “gifted” with a full creative freedom, meaning you are responsible for the concept and most of the details of the shoot. I enjoy both scenarios, and I think it is awesome when your client entrusts you the art direction of the project.
So, let’s imagine you are the Art Director and Photographer for your big gig, and you need to come up with a concept and images that your client will approve and love, so they will want to come back to you again in the future.
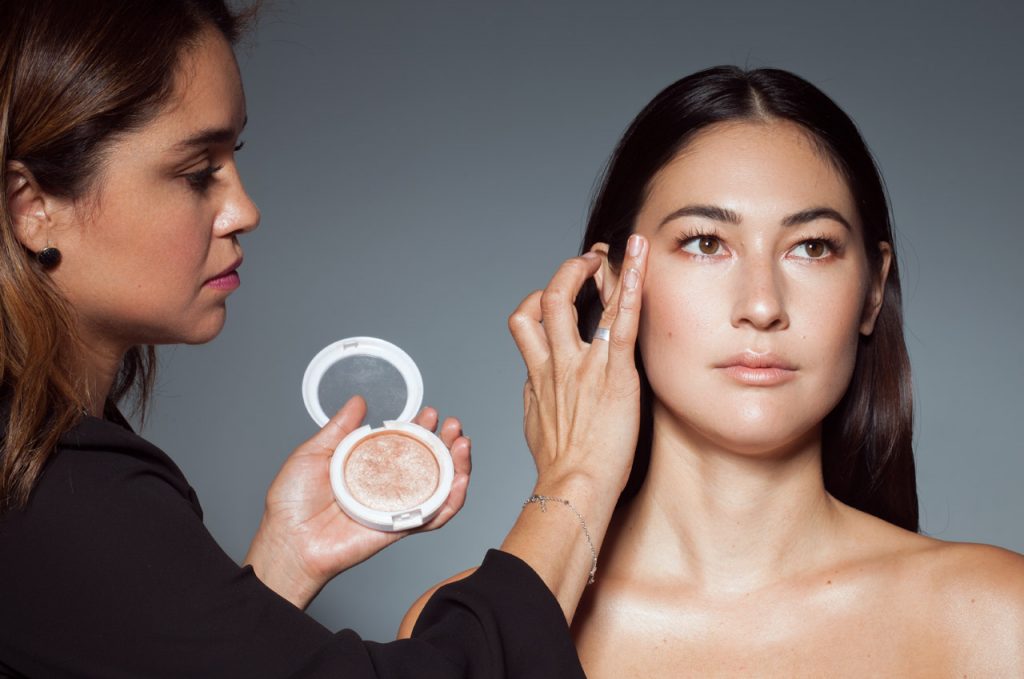
PRE-PRODUCTION
Project Initiated. While exchanging all the necessary details and ideas with the client, I invest some quality time into studying the company’s history, the products they offer, their website and Instagram feed and all the visual materials I can find connected to their products and services.
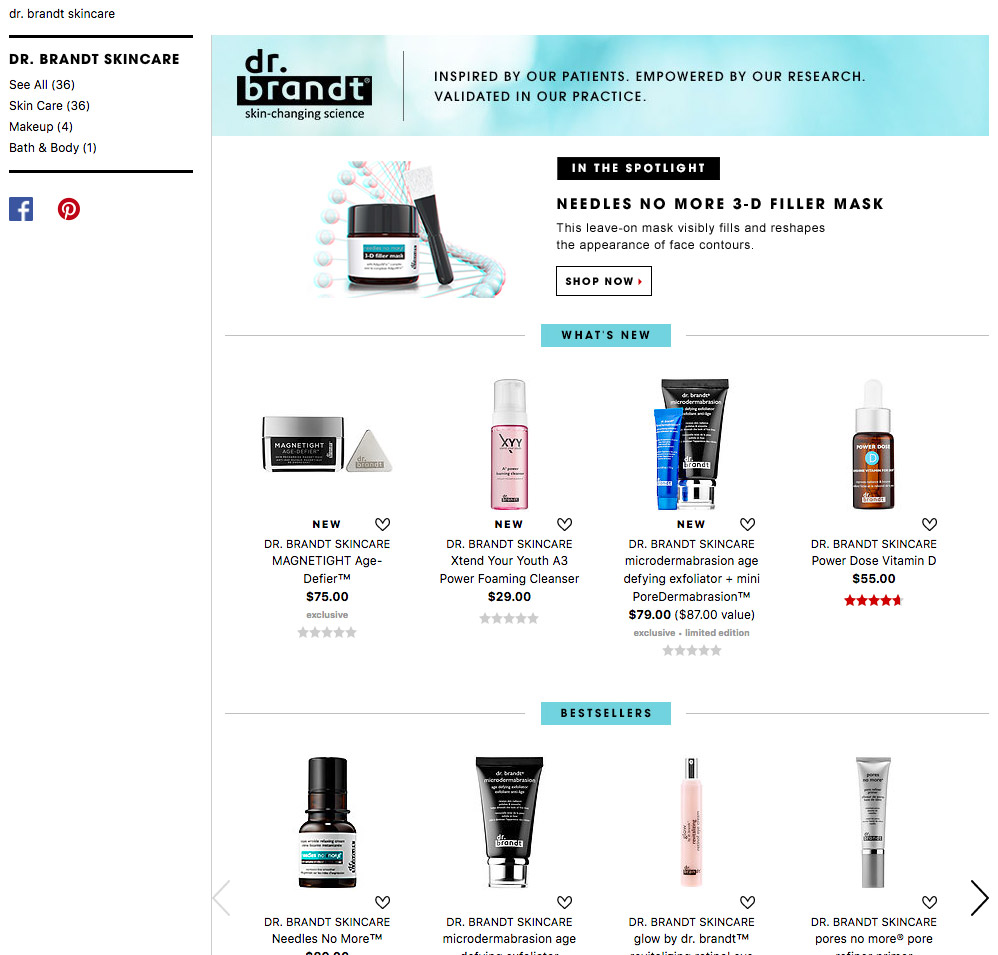
I also look into the expert and customer reviews of the client’s products on various Beauty distribution websites and stores – it helps to “become one” with your client for the project when you know all: the good and the bad about their brand.
I use Evernote extensively to make my own notes, and also copy and collect visuals and quotes relevant to my project. For example, some sentences from reviews or product descriptions that help trigger a creative idea to illustrate the product.
The point of this exercise is to understand what visuals to eliminate as well as trigger new ideas that will actually fit the overall brand’s identity.
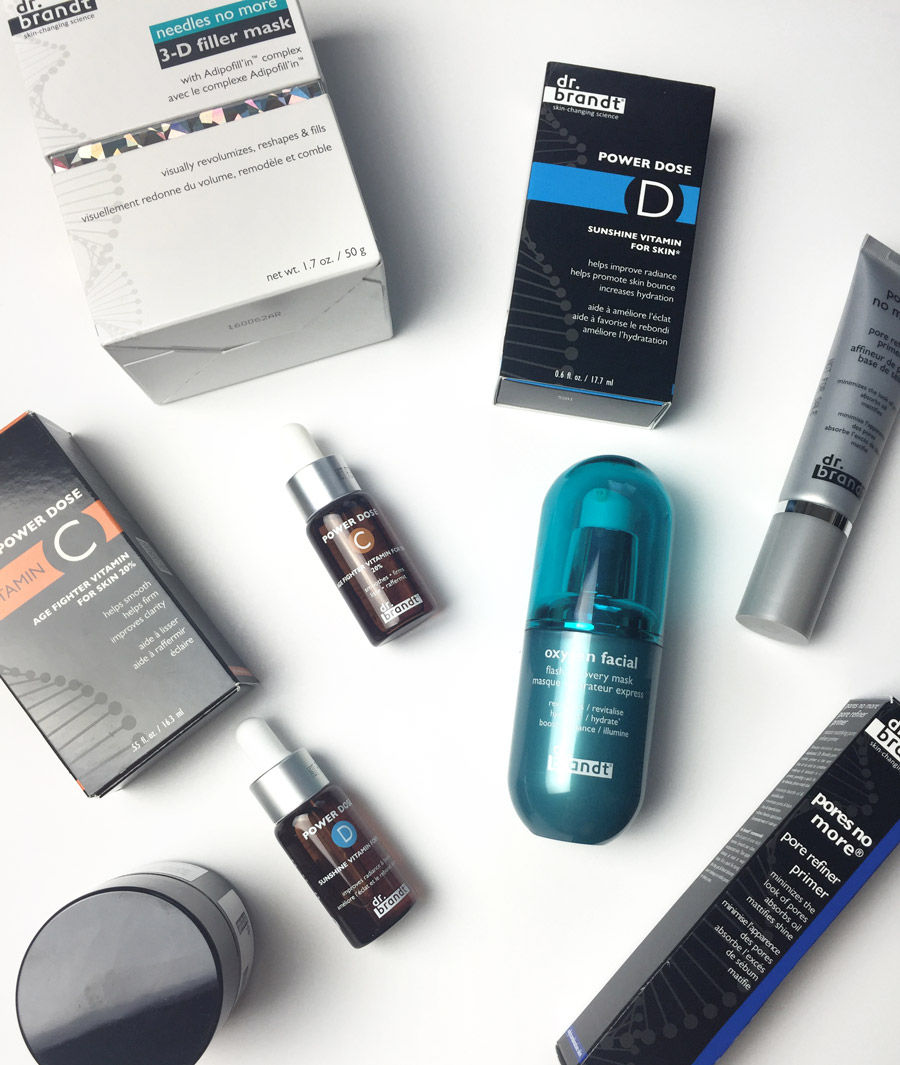
Product Arrived. I unpack and study each item very carefully, trying to not leave any finger prints on the glass and reflective surfaces. At this time I will create a separate Evernote file for each product and type up some ideas for the shots and props for each product. I also add the correct descriptions from the client’s website of each product into its note.
By now I know what age groups my client’s customers belong to, thus what kind of models I will need for the shoot. If there are different products for customers of different ages, or if one of the goals is to expand the reach of specific products, the client will communicate it to me, but if they don’t – I will specifically ask about it. The whole project can go to waste if you shoot a 17-year-old model to promote a product for aged skin.
Casting Models. It can go both ways – your client may entrust you to cast the models, but most likely the decision-makers will want to be involved in the selection. So, first you request packages (a list of models with their portfolios, “digitals” and social media links) and rates from modeling agencies, providing the details of your project: what type of models you need, including age groups, image usage (web or/and print, how long) and anything else that the agent may need to know about your project to send you the right models and correct rates.
Once the packages are received, you can forward them to the client, or go through them and hand-pick the models you think will fit the project best and send those only.
I definitely choose the latter, because a) I work with the same agencies that I do test shoots with, so chances are I have already shot with some of their girls who may be in the packages, and I will know whom I would recommend for the project and whom I would exclude from the list if I feel like they won’t be the right fit (based on their true appearance, skin condition, how difficult they were to work with, etc.) and b) the agencies send all the girls they think fit our requirements, but this is my chance to actually choose the girls that I prefer based on my artistic taste and my knowledge of the brand and the project.
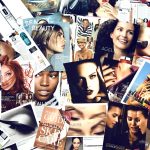
Moodboards and Shot-lists. This is a fun part of pre-production, even though it can be very time-consuming. Your client may want to see your planned visual approach, but they also may completely trust your artistic judgement, and not ask for the moodboards and a shot-list. However, I think it’s necessary to actually share your visual references with the client before the shoot to make sure what you plan to create for them is exactly what they need. You just never know what tweaks the client may offer and that can lead to significantly different results.
I have created an InDesign template for my shoots, and each look has two pages in my files: page 1 describes the technicalities and shows the overall feel of the images, and page 2 is a collection of separate visual examples of each part of the look: the hair, the makeup, clothes and accessories, if any, and of course framing and posing examples.
After my concept is approved by the client, I upload the final moodboard to my Dropbox and add the link to it into the Call Sheet that I will send to the creative team and the agencies.
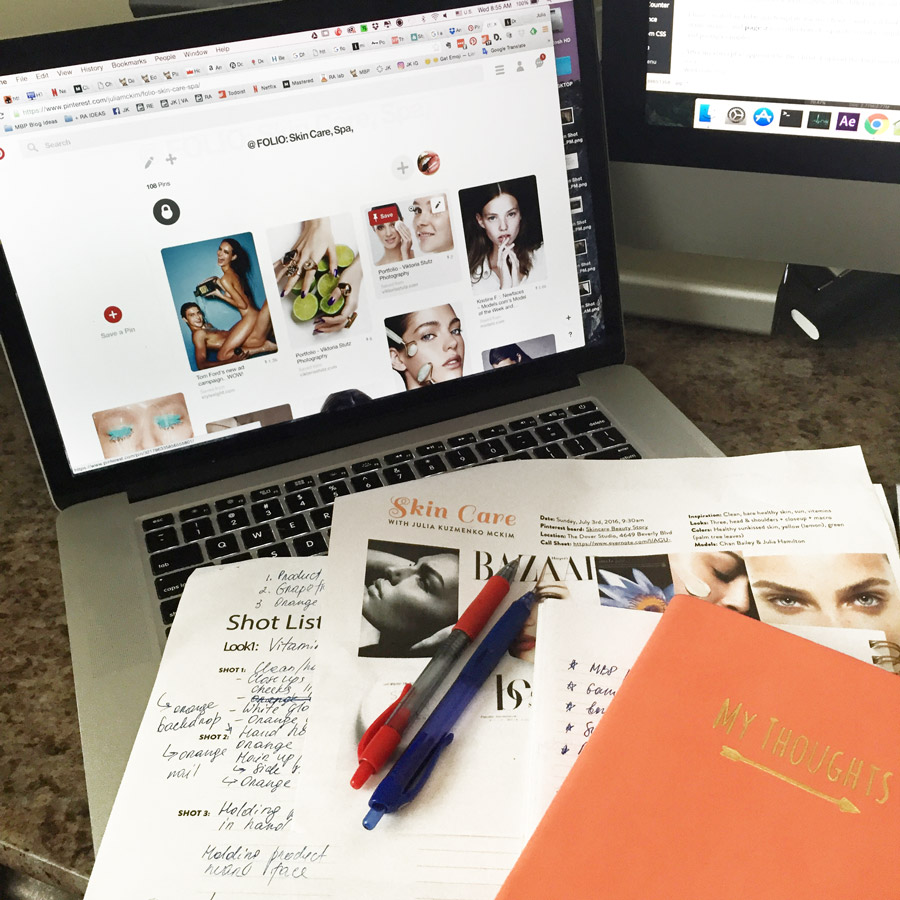
Coordinating Your Creative Team. Given you are free to select your own team to work with on this project, you should, of course, go for your tried and tested creative colleagues whose strongest skills are relevant to this project. For example, for a vivid, colorful, creative makeup shoot I will invite one makeup artist, and for a clean beauty shoot where the skin is the center of attention I will invite another makeup artist who is known for his/her incredible skin work.
Besides simply sending the moodboard to the team, there are constant conversations that we hold through out the preparation process. If we need to shop for props – we decide who is responsible for what, which is usually based on what’s most convenient and less time-consuming for everyone (without compromising the outcome, of course).
he week leading to the shoot is the most important one as all possible questions should be asked and answered and the last changes can be made to the plan. In an ideal world, you should be fully prepared at least a week prior to the shoot, but in reality, things don’t always turn out as we’d like, so rushing through the preparation and team coordination is almost a normal part of any project. We just gotta deal with that.
The Night Before. I pack everything for the upcoming shoot the night before. I just want to be relaxed and not rush in the morning of the shoot.
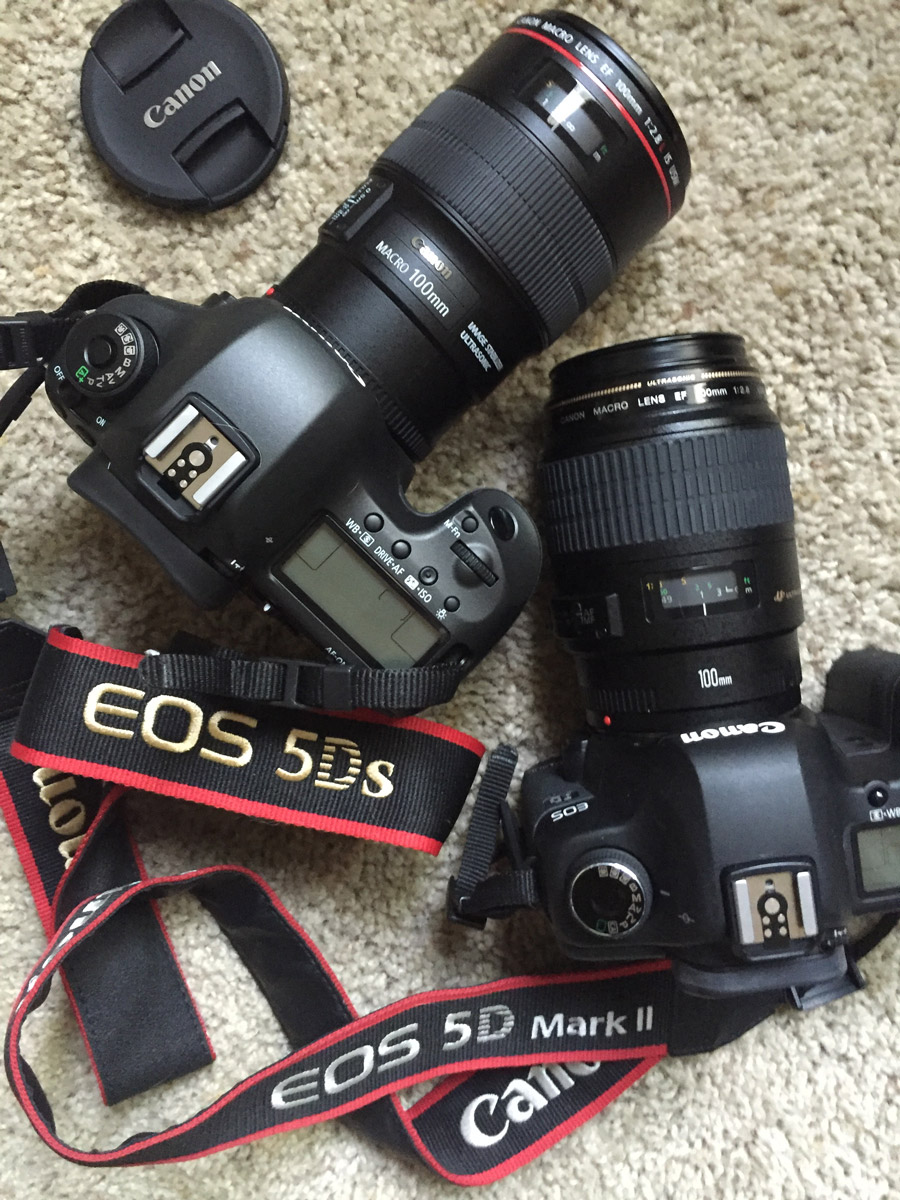
I double check my memory cards and charge extra batteries for my cameras. I often send out a lighthearted text message to each team member about the upcoming shoot, which also serves as the last reminder and check-in with everyone, including the studio manager.
I am not 20 anymore, so no drinking and partying the night before an important shoot, just an early night, if possible. I often lie down with my iPad and browse through Pinterest planting beautiful, inspiring images in my mind for the night. I will usually also take another look at our moodboards before I fall asleep.
SUMMARY
Each project and client will be a little different, and how well you are prepared for the shoot may help you stay cool and in control when things don’t go as planned on the day. The time invested into the research will pay off, so don’t underestimate the power of thorough preparation.
If you enjoyed this article, you may find my video course Go Pro: Studio Beauty very helpful in your journey to the Beauty Photography mastery. It covers everything from preparation, gear, cameras, lenses and other necessary studio tools, to lighting and execution, plus you will find a set of file templates for your actual jobs and photo shoots in the Bonus Materials, including the Estimate, Call Sheet, Project Questionnaire and Model Release.
Till next time!
Beauty Retouching Workflow Checklist

A free PDF checklist for those who strive to be a better Beauty Retoucher








when are you going to have a workshop? I would fly out to cali for that ASAP
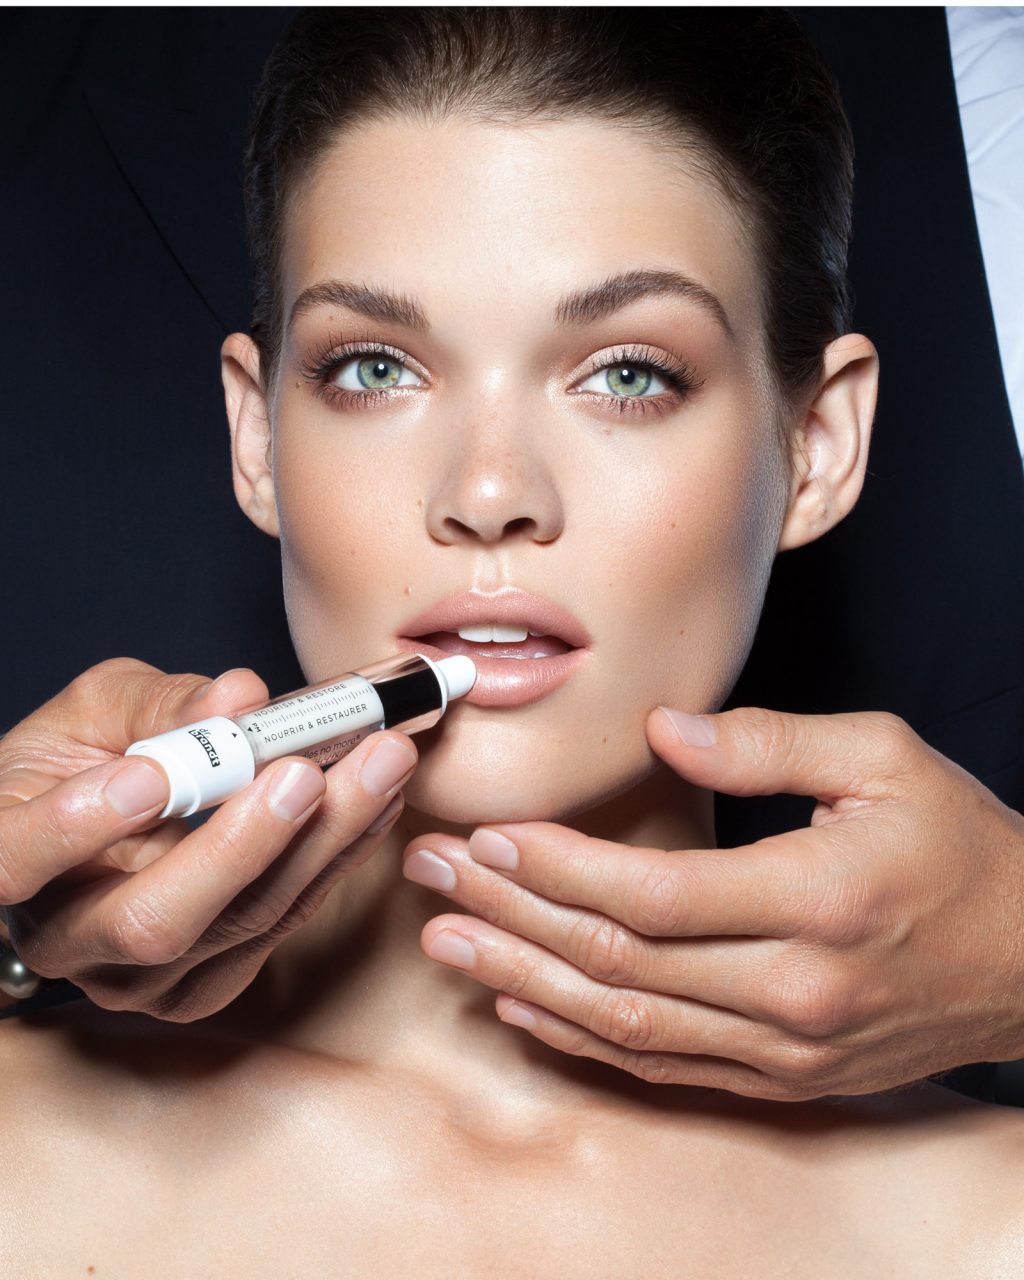
Is most of your work done with just a beauty dish as your key light? one light setup? These images are so vibrant, wondering would you get the same effect with a grid and diffuser sock on the beauty dish.